My Account
View your personal details, security preferences, notification behavior, and account-level settings on the My Account page. From this page, users can update profile information, modify the language of your web-client, control sign-in security, configure how notifications are displayed in the web client, and review account and organization details—all without affecting monitoring configurations.
Use cases
Users can update personal preferences, licensing plans, and account-level settings from the My Account page. From this centralized page, they can:
- Enable snackbars or limit the number of messages displayed through the Web Client Notification Settings .
- View or update plan information and time zone settings in the Account Settings section.
- Switch the web client from English to French by updating the Web Client Language preference

Access My Account
You can access your accounts page in two different ways.
- Navigate to Admin > My Account.
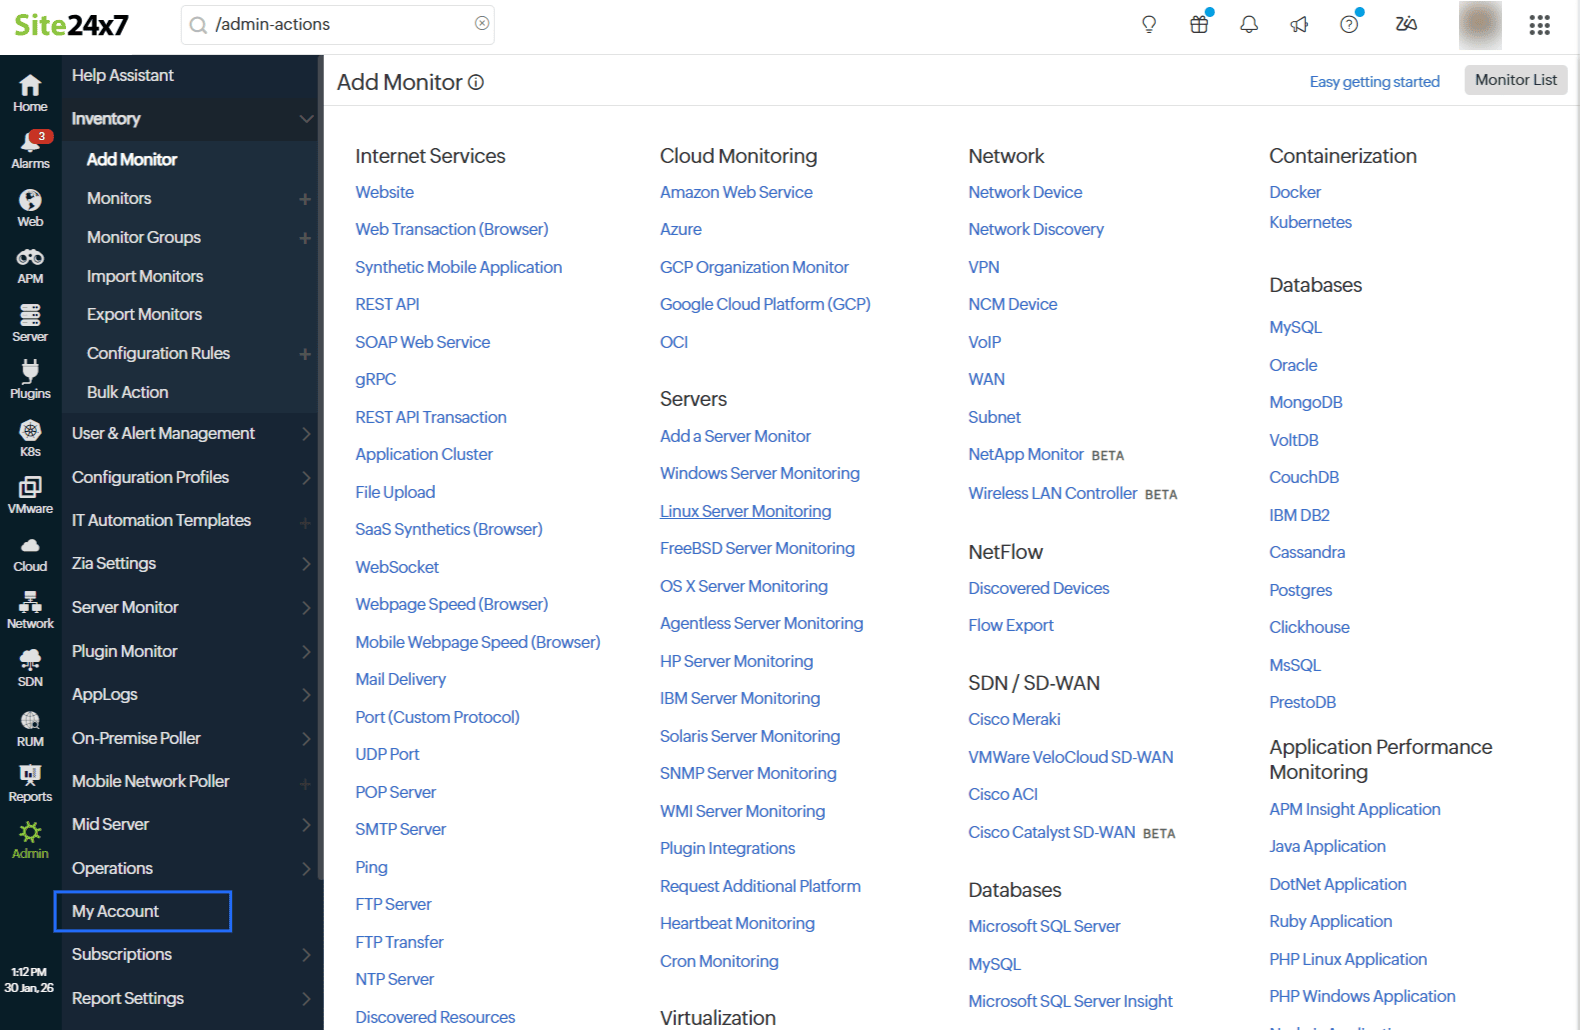
- Otherwise, click on the user profile on the top-right corner and in the pop-up that displays, click My Account.
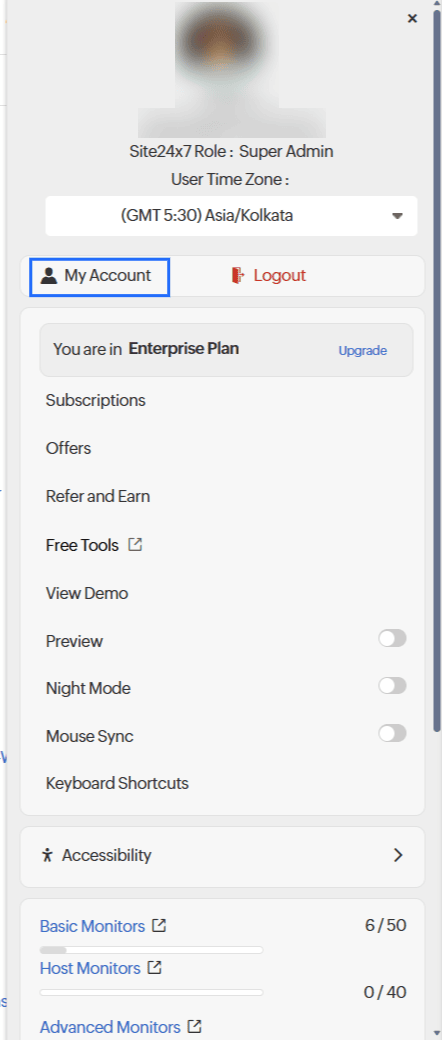
Personal Settings
This section displays basic user information and quick actions related to the signed-in user.
- Profile details: Shows the user’s name, email address, role, group access, and notification medium. Users can also update their profile picture from here.
- Available actions: Selecting any of the following options redirects users to a form or the Zoho Accounts page to complete the action:
- Edit Profile: Update personal details such as name and profile photo.
- Change Email Address: Modify the email address associated with the account.
- Change Password: Update the account password.
- Enable Multi-Factor Authentication: Configure MFA for additional login security.
- Restrict IP Address: Limit account access to specific IP addresses .
- Web Client Language: Allows users to choose the language displayed across the Site24x7 web client. Site24x7 provides more than 10 language options that can be used within the web client interface.
Web Client Notification Settings
The web client notifications can be displayed using snackbar. Snackbars are brief, non-intrusive messages that appear on the screen to confirm actions or highlight important updates and disappear automatically after a short time. You can configure these settings to control how in-app notifications are displayed.
- Enable Snackbar for Web Client Notification: Toggle to display the web client notifications through snackbar.
- Maximum Snackbar Count: Configure how many notifications can appear at a time.
- Snackbar Position: Select the on screen position where snackbars should appear from the drop-down menu.
- Show Error Messages Only: Select Yes to display only error-related notifications in the web client notifications. This change will be applied to the default notification settings also.
Account Settings
This section provides an overview of account-level configurations. Any changes made in the Account Settings will apply to all users associated with this Site24x7 account.
- Site24x7 Plan: Displays the current subscription plan with an option to view subscriptions.
- Associated sub-product plans: Displays plans for related sub-products such as StatusIQ, CloudSpend, and Digital Risk Analyzer.
- Account Contact: Specifies the primary contact for the account.
- Industry: Displays the industry type associated with the account.
- Country/Region: Displays the country or region where the account is located.
- Account-level Language: Configures the default language for account-wide communication.
- Enable TFA for Sensitive Operations: Enable to configure TFA for significant actions like IT automation.
- Time zone for Reports: Configures the time zone used for generating reports.
- Hour Format for Reports: Toggle between 12-hour or 24-hour formats.
- Site24x7 Landing page: Select the default landing page after login.
- You can click on Terminate my account and remove all Site24x7 data option under Account Settings section to terminate your account permanently.
NoteWhen you terminate your account, all associated accounts, user details, customer accounts, monitoring data, configurations, and reports are permanently deleted and cannot be recovered.
Organization Information
Displays organization-level details associated with the account, including:
- Org name
- Org super admin
This information is read-only and is managed at the organization level. When your user role is Organization Admin, you can perform the following actions:
- Change Organization Name: Allows you to modify your organization name associated with you Site24x7 account.
- View All Users: Redirects you to Zoho Directory where you can add, update, view, or remove users from your organization.
- Enable Two Factor Authentication
- Restrict IP Address
- Request DPA: Allows you to initiate Data Processing Addendum (DPA), an agreement that defines how Zoho processes your personal data. Once requested, a copy of the addendum will be sent to your registered email address.
- Some profile and security-related actions redirect to Zoho Accounts , as Site24x7 uses Zoho Accounts for single sign-on and identity management.
- From My Account page, you can navigate to Subscriptions page to upgrade or downgrade your current plans.