Integration with Amazon EventBridge
Amazon EventBridge enables seamless connection between third-party software as a service (SaaS) applications and Amazon Web Services (AWS) apps with triggered events. Route real-time alerts from Site24x7 to other AWS services using EventBridge. Take advantage of its built-in targets, like AWS Lambda, EC2 API call, SQS, SNS, and more to kick off auto-remediation pipelines, execute analytics queries, or other automation steps.
When you integrate Site24x7 with Amazon EventBridge, depending on the rule attached to the event source, the alert events can be forwarded to different AWS services. The target services can be SNS, SQS, Lambda function, or any other custom application or other AWS service.
Amazon EventBridge integration with Site24x7 can be used to easily automate steps in your infrastructure rightsizing processes.
Prerequisites
For the AWS console, you need:
- An AWS account ID.
- An AWS region to be associated with.
For the Site24x7 console, you need to:
- Have a valid and active AWS account.
- Integrate your AWS account with Site24x7. Learn More.
- Grant permissions like events:CreateEventBus, events:DescribeEventSource, and events:ActivateEventSource, which enable Site24x7 to create an event bus with an event source. If not, you need to associate an event bus manually in the AWS console, and the events:DescribeEventSource permission must be separately added to your policy.
Integrate Site24x7 with Amazon EventBridge
For configuring a Site24x7 event source with Amazon EventBridge, follow the steps below:
- Log into your Site24x7 account.
- Navigate to Admin > Third-Party Integration.
- Click the Add Third-Party integration button. Select Amazon EventBridge from the list of integrations.
- Add the Integration Name, and choose the Amazon Account from the drop-down menu to complete the integration process.
- On choosing the Amazon Account, an auto-populated field, Event Sources, will appear, and you can choose the region of your choice from the drop-down menu.
- Toggle Yes or No based on if you want to trigger incidents when your monitor is in Critical or Trouble status.
- The integration level can be applied to specific Monitors, Tags, or All Monitors.
- The field Tags to Be Sent With Alerts lets you choose tag keys associated with a monitor and sent along with the alert. On triggering an alert, tags that match with the monitor will be included in the alert notifications. If no tags are selected, all the tags associated with the monitor will be present in the alert notifications
- Click the Save and Test button to save the integration and to receive a test alert. Or, you can click the Save button to add the Amazon EventBridge integration. This event source will now be automatically added in the AWS console. The event source will be associated with an event bus, as well.
Event bus association with an event source will not happen if the events:createEventBus permission is not added to the policy.
How to route alerts to Amazon EventBridge
The following section explains how to associate an event source to the designated event bus in the AWS console.
- On clicking Save, the event bus created in the Site24x7 console will be automatically added to the Partner event sources section of the AWS console.
- As you search through the Event Sources that were auto-populated in the Site24x7 console, you can view the same event source name in the AWS console.
- Since the events:CreateEventBus, events:DescribeEventSource, and events:ActivateEventSource permissions were already provided, the event source will have been automatically associated with an event bus, and the status will be Active.
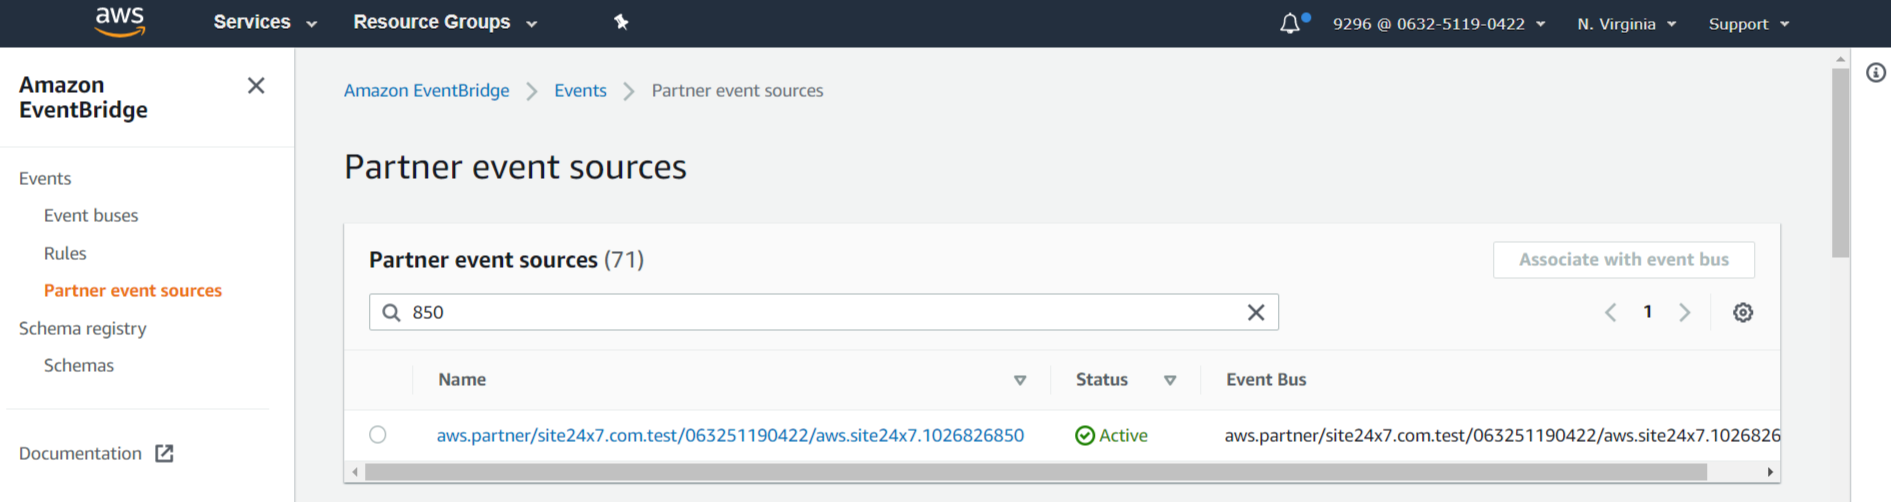
- Once the association with an event bus is done, the status of that particular event source will be Active. in both the Site24x7 console and the AWS console. The status of an event bus for which an association isn't completed will be Pending.
When the status is in Pending, the events will be dropped, since no event bus is yet associated. You will be charged only when the status is in Active and the alerts are properly routed to an event bus.
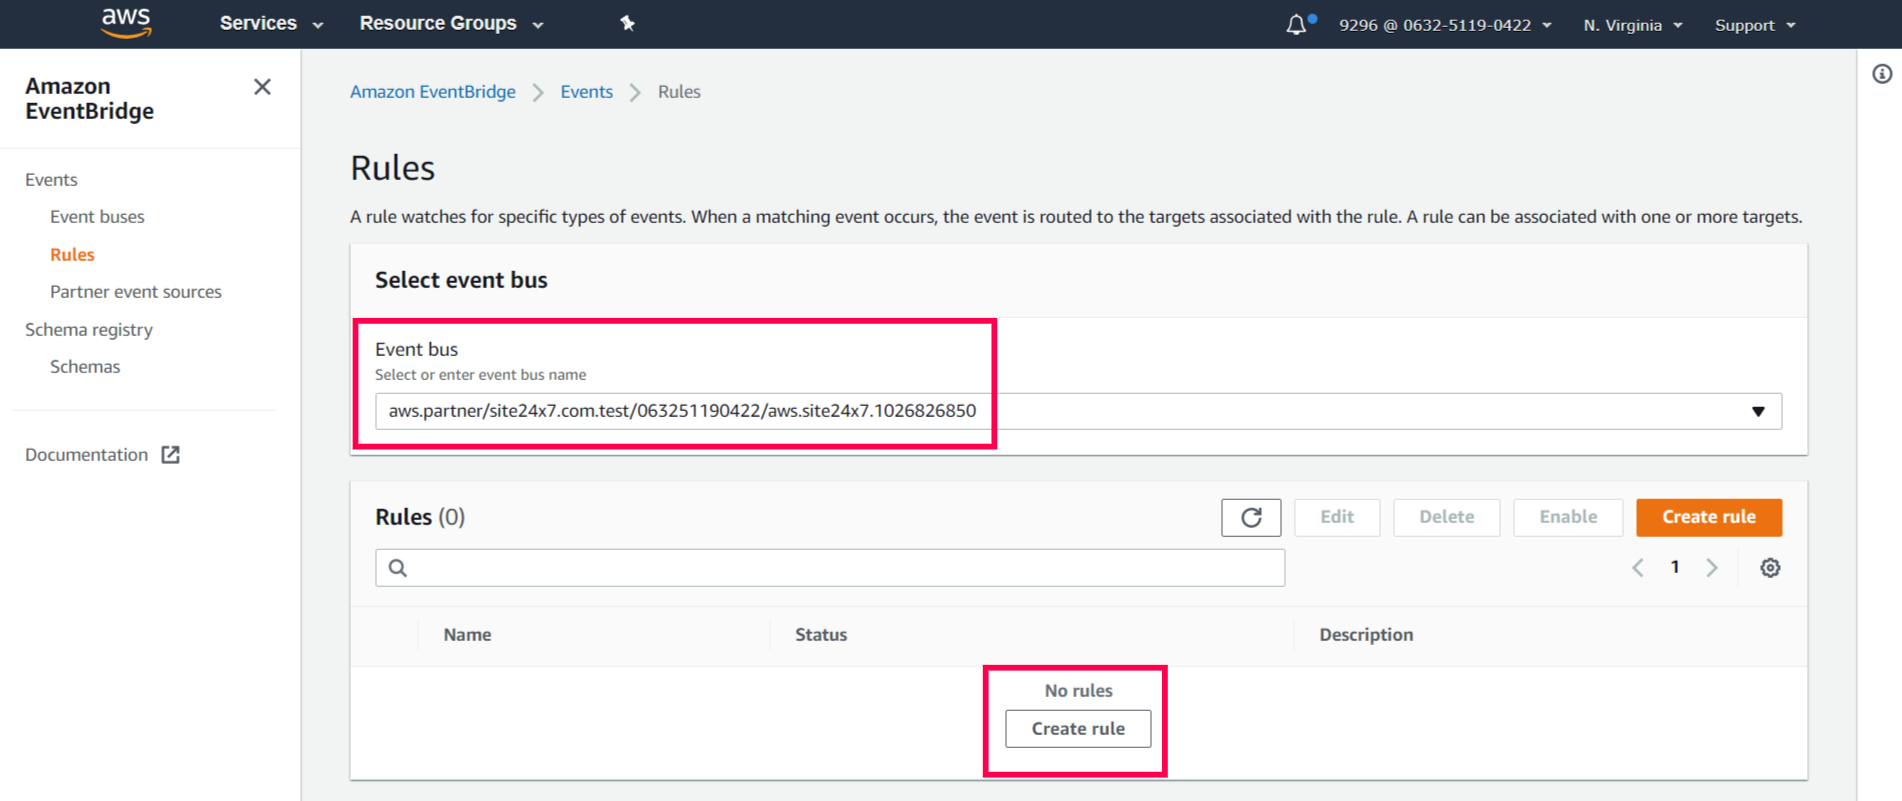
- Navigate to the Rules section in the left pane, and choose the event bus name from the drop-down menu to create a rule. A rule looks out for certain alerts, then routes them to AWS targets that you choose.
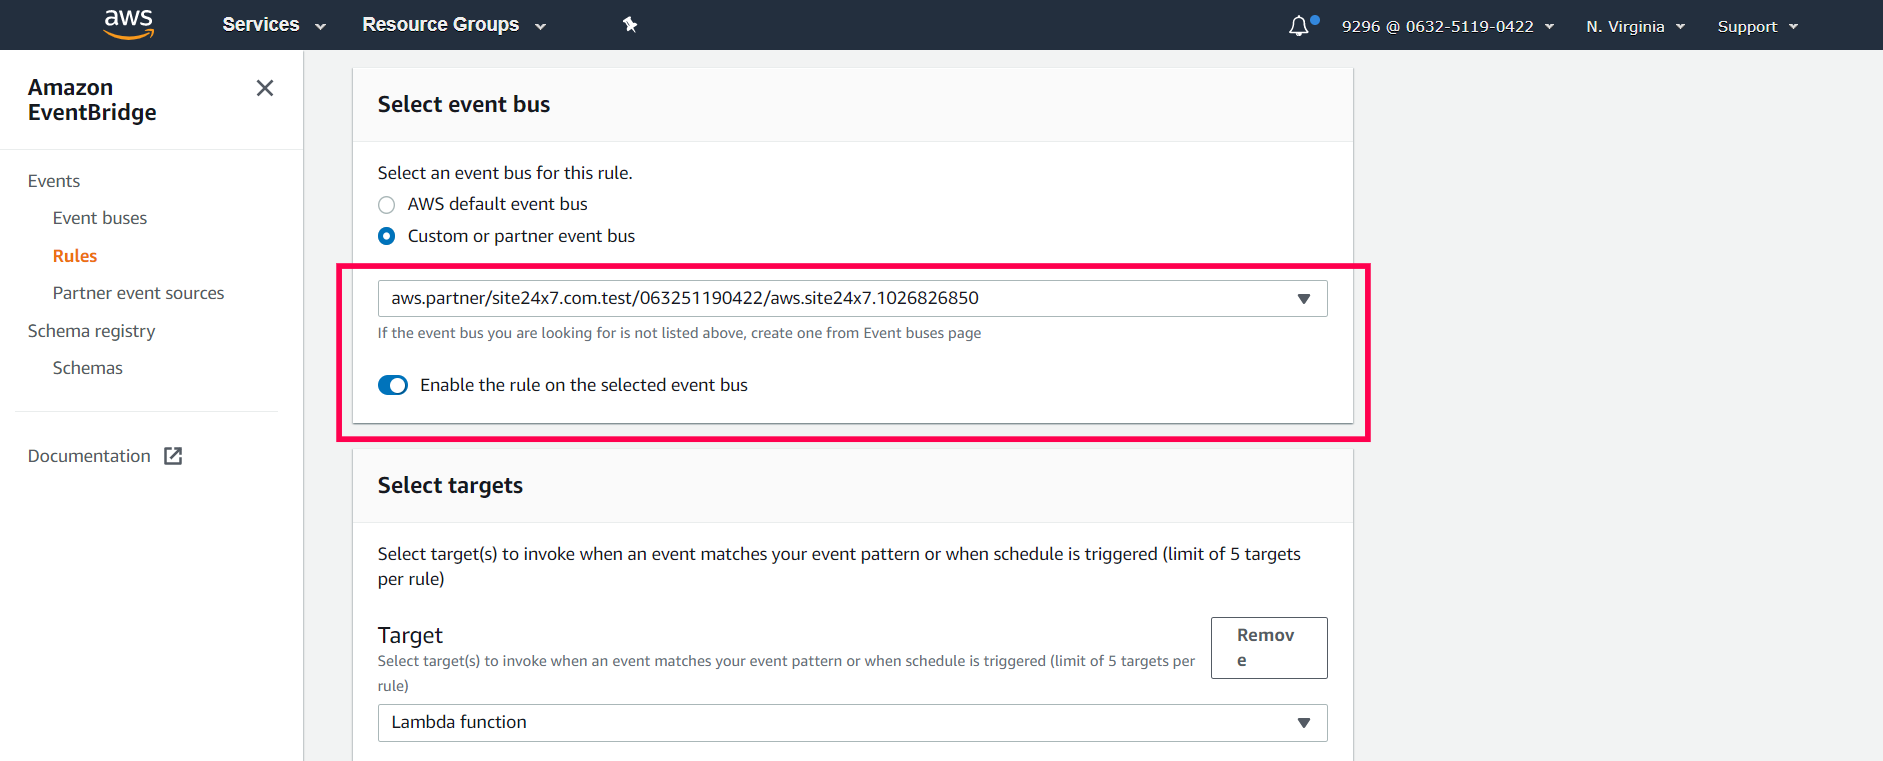
- Choose the name and description of the rule, and define a pattern. Event patterns enable you to build a pattern to match events. Select the Pre-defined pattern by service option, then choose Site24x7 as the Service name from the drop-down menu.
You can also choose to collect all events and invoke them to their target in a scheduled manner by choosing Schedule option. Select the event bus from the drop-down menu, and select the Target. Click Create.
- The rule created can be viewed under the Rules section for a selected event bus. This completes the process to route alerts to Amazon EventBridge from Site24x7.
Activate/Suspend/Delete EventBridge Integration
In order to suspend or delete a particular event source, you need to click the Suspend or Delete option in the top-right corner of the Site24x7 console.

To verify that your alert is routed properly, you can navigate to Home > Alert Logs in Site24x7 console where you will see a log confirming that the test alert is triggered.
Use cases
- Infrastructure alerts: Obtain infrastructure alerts on high storage and CPU utilization, and scale the instance(s) horizontally or vertically using a Lambda function.
- Operational insights: Receive alerts with varying degrees of intensity, like Down or Critical, on your monitored resource (e.g., Down when the EC2 instance is stopped), and take necessary remedial actions.