Collecting logs from Cisco switches
Upload logs from network devices like routers, switches, and firewalls to manage them using Site24x7's AppLogs. A centralized server forwards logs outside your network, and you can manage all your logs by just installing the AppLogs agent on the centralized server.
Site24x7 allows you to generate alerts and detailed reports for Cisco switch logs and other device logs. You can get actionable insights, enhance operational efficiency, and streamline troubleshooting through monitoring and visualization tools.
Prerequisites
- Ensure that the server where the Site24x7 Linux server monitoring agent is installed and functions as the central syslog receiver.
In a Windows-based network device, the syslog data can be collected through an On-Premise Poller. However, it is not required for Linux-based servers.
Configuring the central syslog receiver
Follow the steps below to configure the central syslog receiver:
- Configure the rsyslog server to receive logs from the remote network device.
- Create a new configuration file under /etc/rsyslog.d/ and name it.
Example: /etc/rsyslog.d/.conf - Add the following lines into the newly created file:
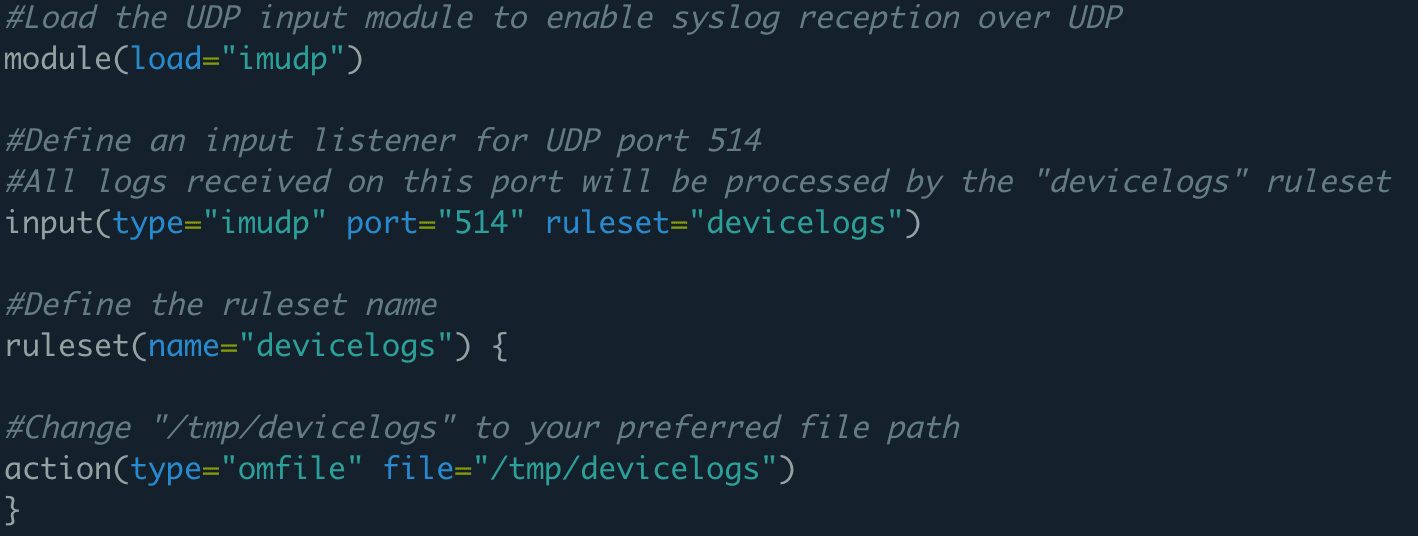
# provides UDP syslog reception
module(load="imudp")
input(type="imudp" port="514" ruleset="devicelogs")
ruleset(name="devicelogs") {
action(type="omfile" file="/tmp/devicelogs")}

- Optional step: Using a dynamic path, you can store forwarded logs from multiple devices in separate files. Follow the steps below to configure a dynamic path:
module(load="imudp")
input(type="imudp" port="514" ruleset="devicelogs")
template(name="default" type="string" string="/tmp/devicelogs/%fromhost-ip%/device_logs.log")
ruleset(name="devicelogs") {
action(type="omfile" file="/tmp/devicelogs")}
Also, you can change the file path (/tmp/devicelogs) to your preferred storage location.

- If you have a firewall enabled on this machine, you must allow UDP port 514 in the firewall using the command below:
firewall-cmd --add-port=514/udp --permanent
 firewall-cmd --reload
- Now, restart the Rsyslog service with the following command:
sudo service rsyslog restart
- To avoid using up disk space, follow the instructions below to rotate the log files regularly:
-
- Create a new configuration file under /etc/logrotate.d/devicelogs.
- Below the username and groupname, add the following lines to the file:
/tmp/devicelogs
{
 su
 rotate 7
 daily
 missingok
 notifempty
 delaycompress
 compress
 postrotate
 /usr/lib/rsyslog/rsyslog-rotate
 endscript
 }
For Red Hat machines, use the line below instead:
/usr/bin/systemctl -s HUP kill rsyslog.service >/dev/null 2>&1 || true
After successful completion of the steps above, the rsyslog-configured server will be ready to receive the logs from the remote device.
Configuring syslog in a Cisco switch
Follow the steps below and configure the Cisco switch to send syslog messages to the designated port on the computer where the Site24x7 Linux server monitoring agent is installed.
- Open the command line interface on your Cisco switch and begin a session.
- Verify if privileged EXEC mode is enabled. If not, enter privileged EXEC mode by typing the following command:
enable
- Switch to global configuration mode by typing the following command:
configure terminal
- Verify if logging is enabled. If not, enable it using the following command:
logging enable
- Configure the Cisco switch to send log messages to the server in which the Site24x7 Linux server monitoring agent is installed by typing the following command:
logging host
- Based on the priority level, you can limit the messages sent. For this, use the following command:
logging trap level
- Return to privileged EXEC mode by typing the command:
end
The default UDP port is 514. The default TCP port is 1470.
After performing the steps above, you can see the syslog messages in the log file configured in the rsyslog.conf file.
In addition, you can create a log type in Site24x7 using the sample log available in the log file. Then, you can create a log profile and map the rsyslog-installed host to view the logs in AppLogs.
Troubleshooting log collection
If the logs are not written in the file configured in rsyslog, then follow the steps below to check where log receiving is failing.
- Make sure syslog is enabled in your network device and configured to use the UDP port (514), and that the host IP is an rsyslog-installed machine.
- Make sure the rsyslog-installed machine is reachable from the network device by using the following command:
ping
- Run the tcpdump command to check for any network packets coming to the UDP 514 port. If tcpdump is not installed, then install and run the following command:
tcpdump udp port 514 -XAvvv
By following the steps above, you can successfully configure the central syslog receiver and syslog on a Cisco switch.
