Workflow Automation powered by Qntrl Circuits
Workflows enables you to design complex business logic within a single automated process. Here, you can integrate multiple APIs, scripts, third-party tools, ITSM, cloud actions, K8s, cloud services, process data across systems, validate configurations, and execute actions based on contextual inputs.
Within Workflows, you can use predefined Workflow Functions to retrieve data from any services, evaluate conditions or configuration settings in another, manage computes, and execute automation or scripts based on the processed results. This enables intelligent, multi-step workflows with conditional branching, decision points, and coordinated cross-application actions.
Components of Workflows
The components of Workflows include:
IT automation
Supporting 100+ actions in Site24x7, IT automation is a core component of IT operations management (ITOM) that enables event-driven automated remediation across hybrid infrastructure, cloud, and application stacks. IT automation capabilities include corrective actions such as server script execution, service control, VM life cycle commands, and cloud-native operations (e.g., AWS, Azure, GCP, OCI) via authenticated API calls and SDK integrations. The key objective is to embed remediation directly into operational workflows. A central aspect of this capability is its Invoke URL/REST API automation, which lets you configure event hooks that fire RESTful callbacks (supporting GET, POST, PUT, PATCH, DELETE) to third-party systems or custom endpoints with dynamic incident payloads, enabling integration with external orchestration engines or CI/CD pipelines.
Workflow Functions
Workflow Functions are custom logic units written in Zoho Deluge or JavaScript that add intelligence and decision-making capabilities to a Workflows. They allow you to process data, validate configurations, and retrieve credentials using OAuth, invoke APIs, execute IT automations, and interact securely with Zoho or third-party services.
Each function performs a specific task and can pass its output to subsequent steps, enabling conditional branching, contextual execution, and coordinated multi-step automation within a Workflow.
Use cases
Consider a scenario where multiple Virtual Machines (VMs) become unavailable and a critical alert is triggered by the monitoring system. The DevOps team programmatically retrieves the details of the affected VMs using monitoring APIs, places those VMs into maintenance mode to suppress further alerts and avoid false downtime reporting, and communicates the maintenance activity through an incident communication tool to ensure stakeholder visibility and coordinated response.
- The user first creates a Workflow Function to integrate with an ITSM tool and verify whether a related incident ticket already exists. If a ticket is found, it is updated with more diagnostic data such as server logs, error messages, timestamps, and execution context. If not, a new ticket can be created.
- Once the ticket validation and update process is complete, the user builds a second Workflow Function to invoke monitoring APIs and programmatically retrieve the details of the unavailable VMs without manual intervention.
-
Next, the user configures two additional Workflow Functions:
-
One function to mark the identified VMs as maintenance through the Mark as Maintenance option, suppressing further alerts and preventing incorrect downtime calculations.
-
Another function to post a structured maintenance notification to an incident communication tool (such as Slack), informing stakeholders about the impacted resources and ongoing actions.
-
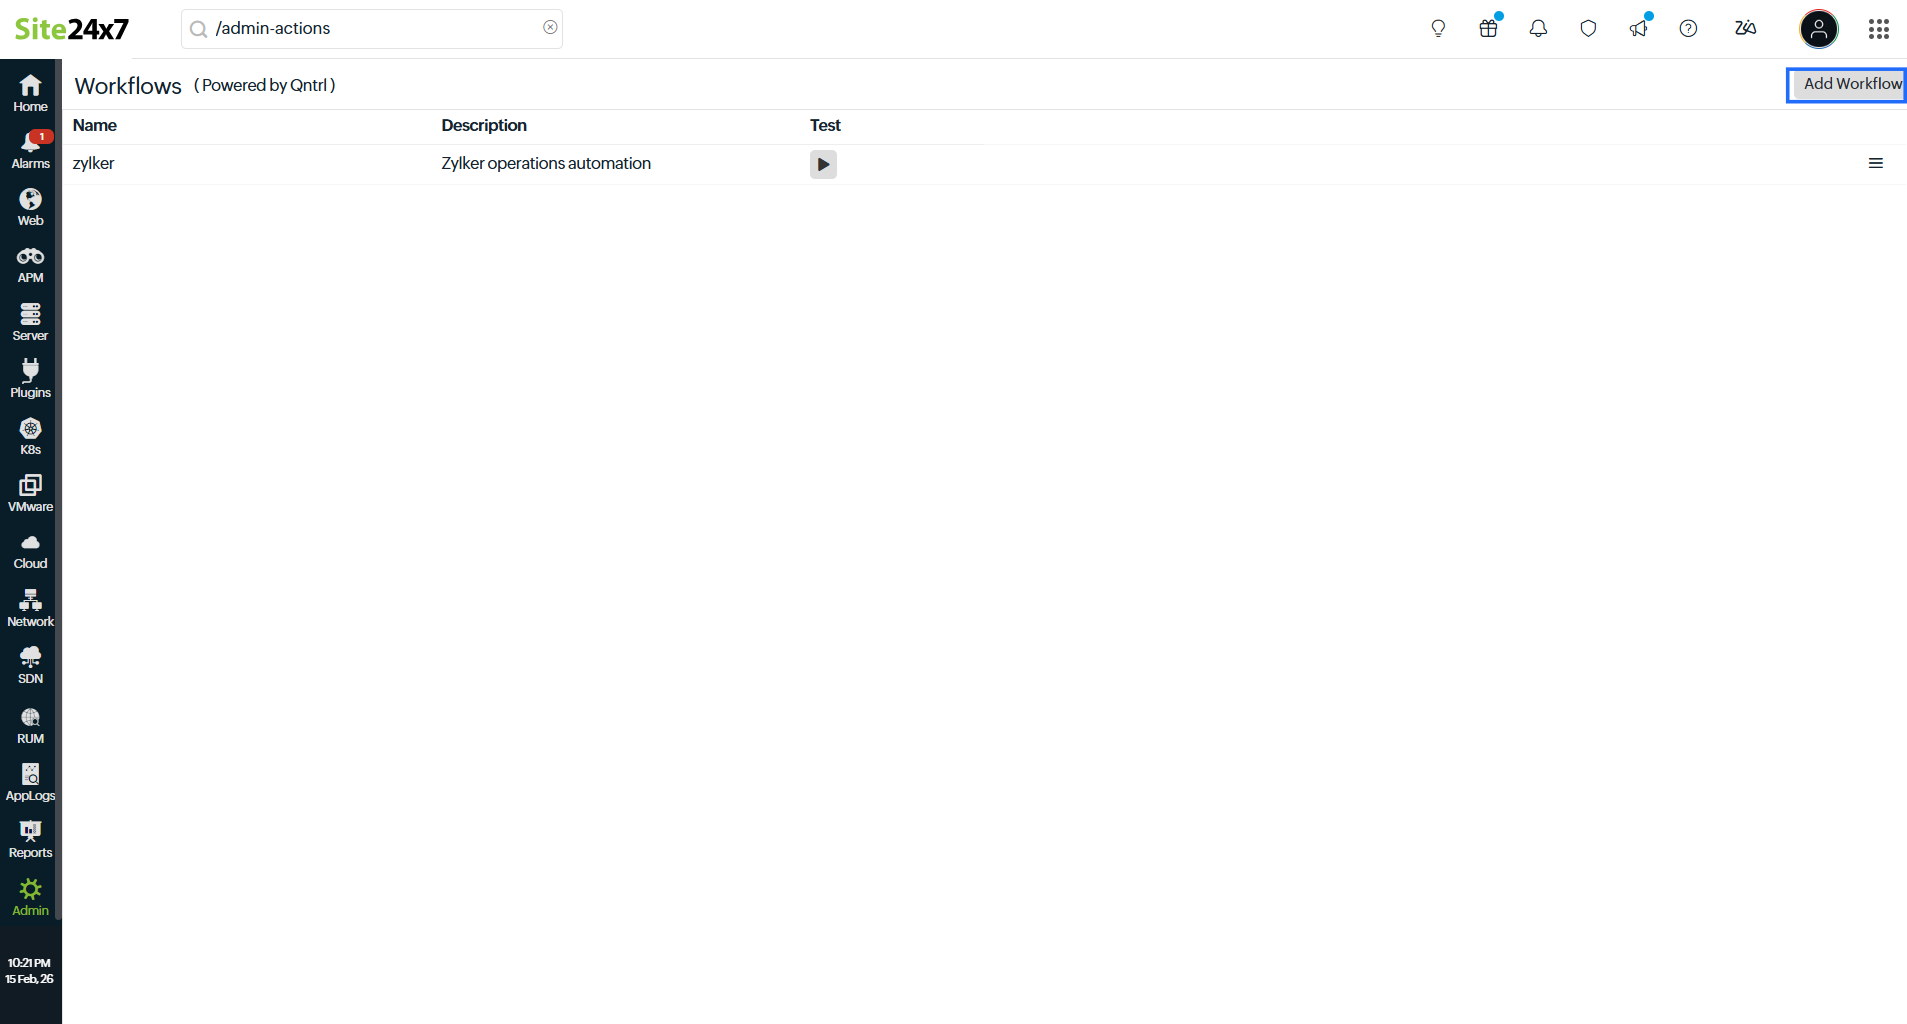
Accessing Workflow
To create Workflows, follow the steps below:
- Log in to Site24x7.
- Navigate to Admin > Automation > Workflows > Add Workflow.
- When you create a new Workflow, the default builder is rendered in the Builder View with a visual flow structure containing:
- Start
- State 1 (Pass)
- End
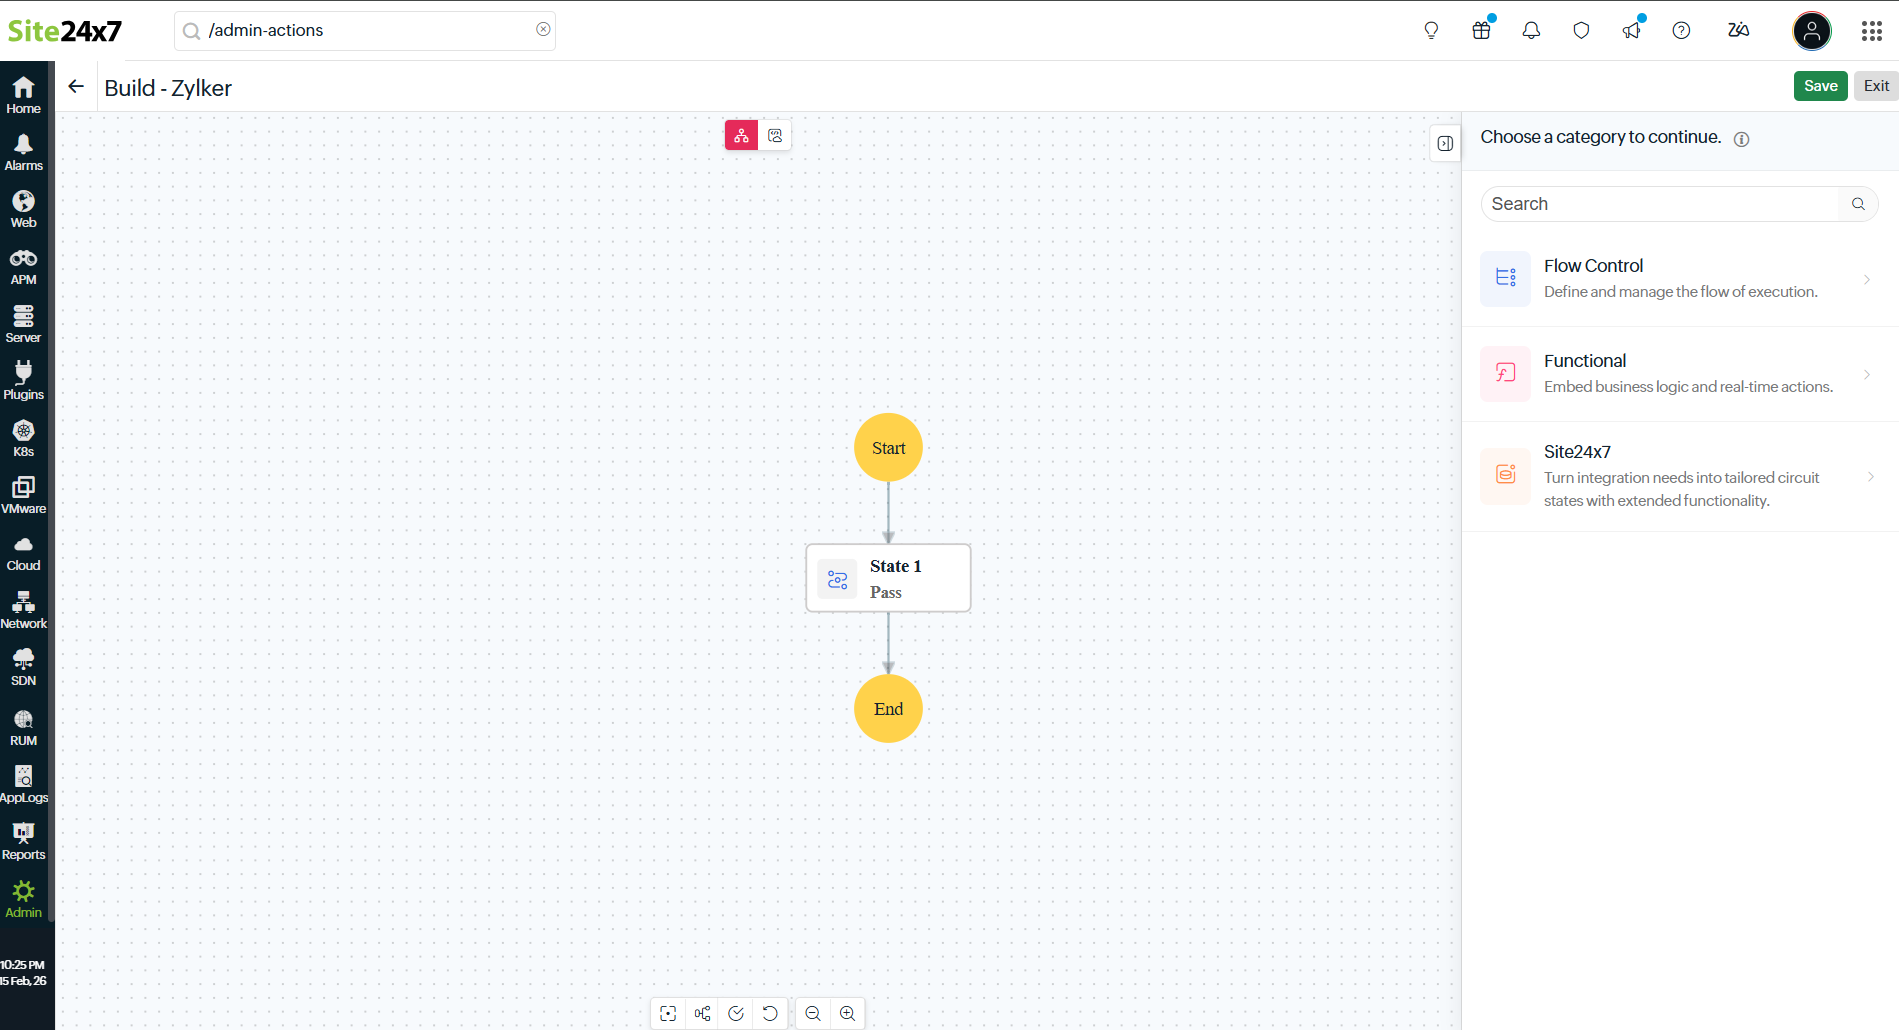
These elements represent the execution flow of the Workflows. - The right panel shows three options:
- Flow Control: Allows you to create the direction and flow of the elements in the Workflows (i.e., Call API, contact other service through API, Logical, Deluge scripting, JavaScript).
- Functions: Allows you to call functions created through Workflow Functions.
- Site24x7: Allows you to execute predefined IT automations.
Creating a Workflow
Consider the following scenario for which a Workflow can be created. An organization needs to automatically stop non-production Azure VMs tagged for cost optimization outside business hours and notify the operations team once the action is completed for a frequency of every five minutes. So the first step is to filter Azure VMs based on specific tags, next execute an IT automation to stop the selected VMs, and then send a notification to a third-party channel such as Slack.
This Workflow demonstrates how different functional blocks work together within the builder:
- Workflow Functions: Used to process data and perform logical operations (e.g., filtering VMs and sending notifications).
- Site24x7 actions: Used to execute IT automations on selected resources.
- Flow control: Used to define the sequence of execution between states.
Follow the steps below to create Workflows:
- Drag and drop Functions from the right panel.
- Provide a Name for the state (e.g., vm-filter).
- Select the required function from Workflow Functions (e.g., a function that filters Azure VMs based on specific tags).
- Define the Next State.
- Click Create.
- For the next step, drag and drop Site24x7 from the right panel.
- Choose Execute IT Automation.
- Provide a Name for the state (e.g., vm-stop).
- Set the Previous State as the VM filtering function (e.g., vm-filter).
- From the list of available automations in the right panel, select the appropriate automation to stop the selected VMs.
- Click Create.
- For the next step, drag and drop the Functions.
- Provide a Name (e.g., notify-slack).
- Choose a Workflow Function that posts a message to a third-party channel such as Slack.
- Set the Previous State as vm-stop.
- Define the Next State as End.
- Click Create.
- Click Save to store the Workflow or Exit to close the builder.
