Splunk On-Call Integration
VictorOps, recently rebranded as Splunk On-Call, focuses on reducing the mean time to acknowledge and restore outages. Integrating with Site24x7 helps you keep track of critical incidents via notifications, so you can reduce the downtime of your monitor.
This integration involves two steps: configuring the integration in Splunk On-Call and configuring the integration in Site24x7.
Configuring the integration in Splunk On-Call
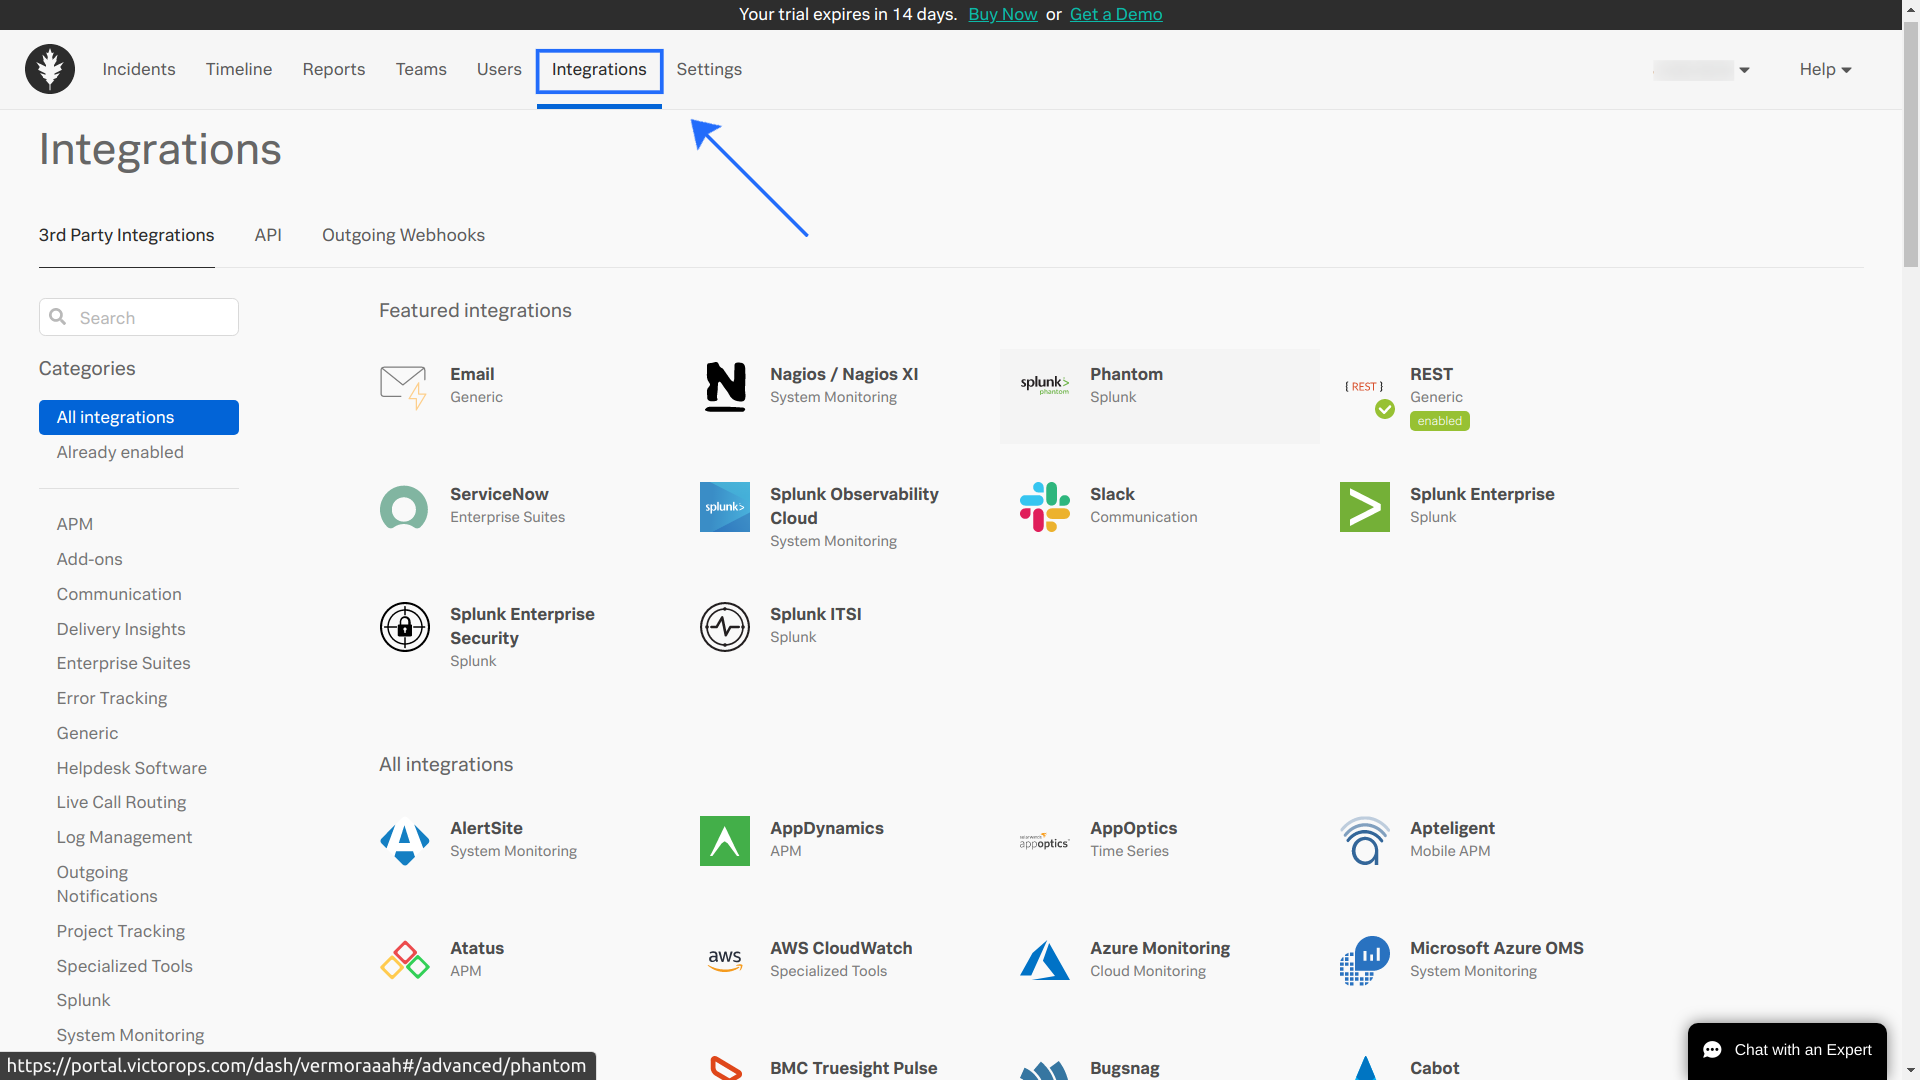
- Log in to your Splunk On-Call account.
- Go to the Integrations section.

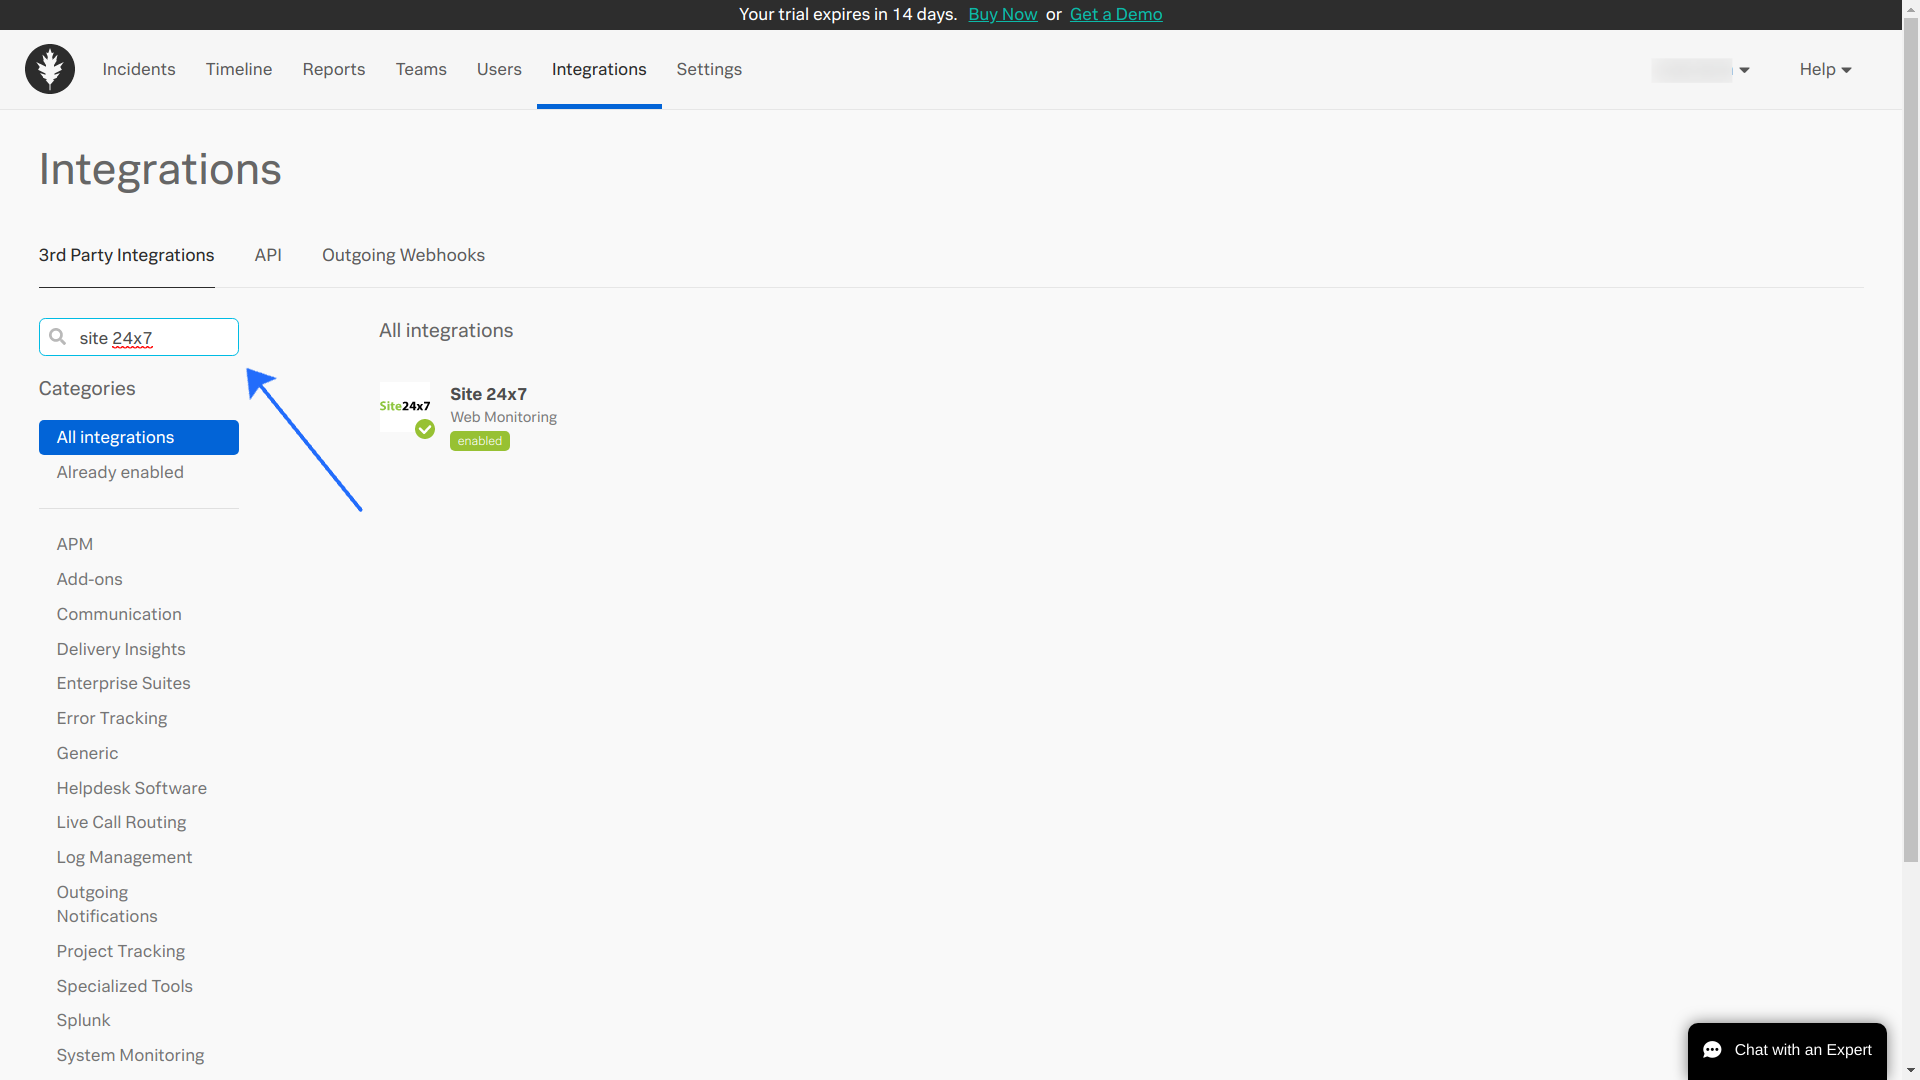
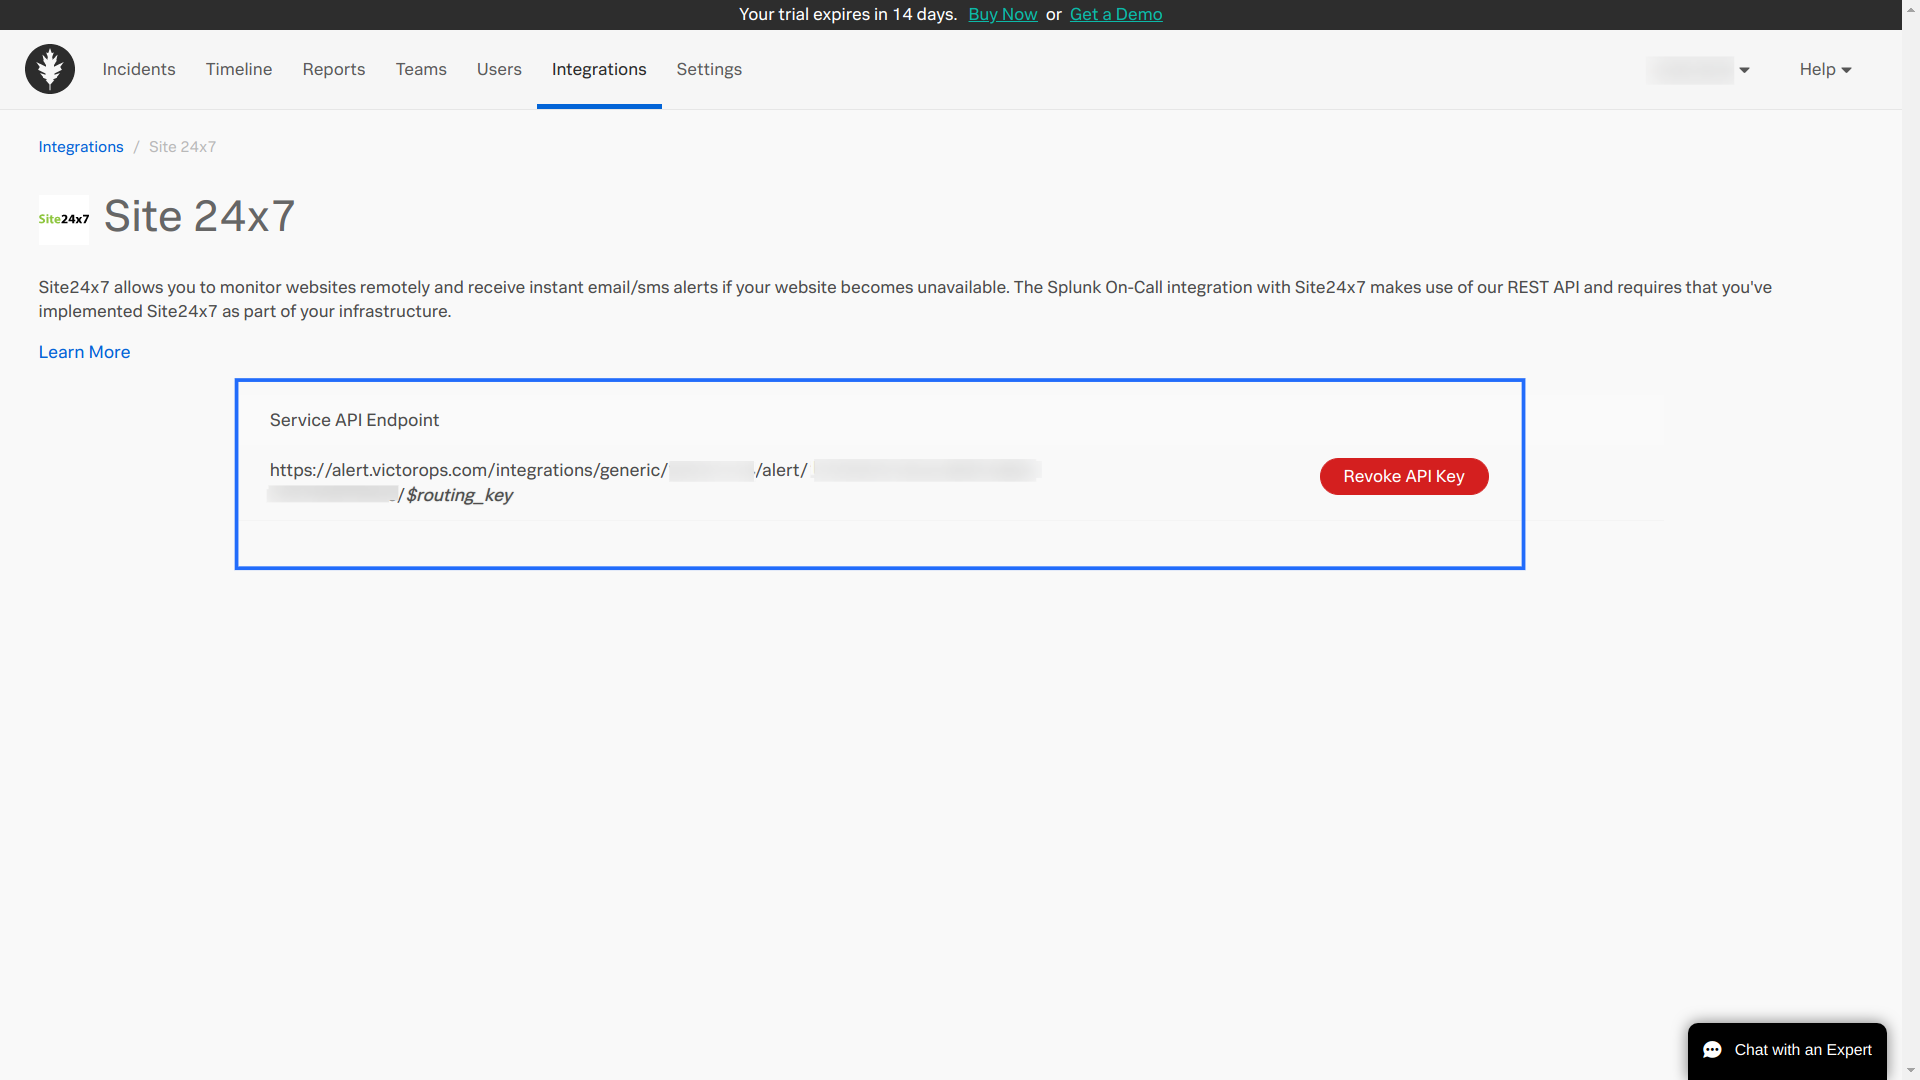
- Search Site24x7 in the Search bar. On the Site24x7 Integrations page, copy the Service API Endpoint and save it.


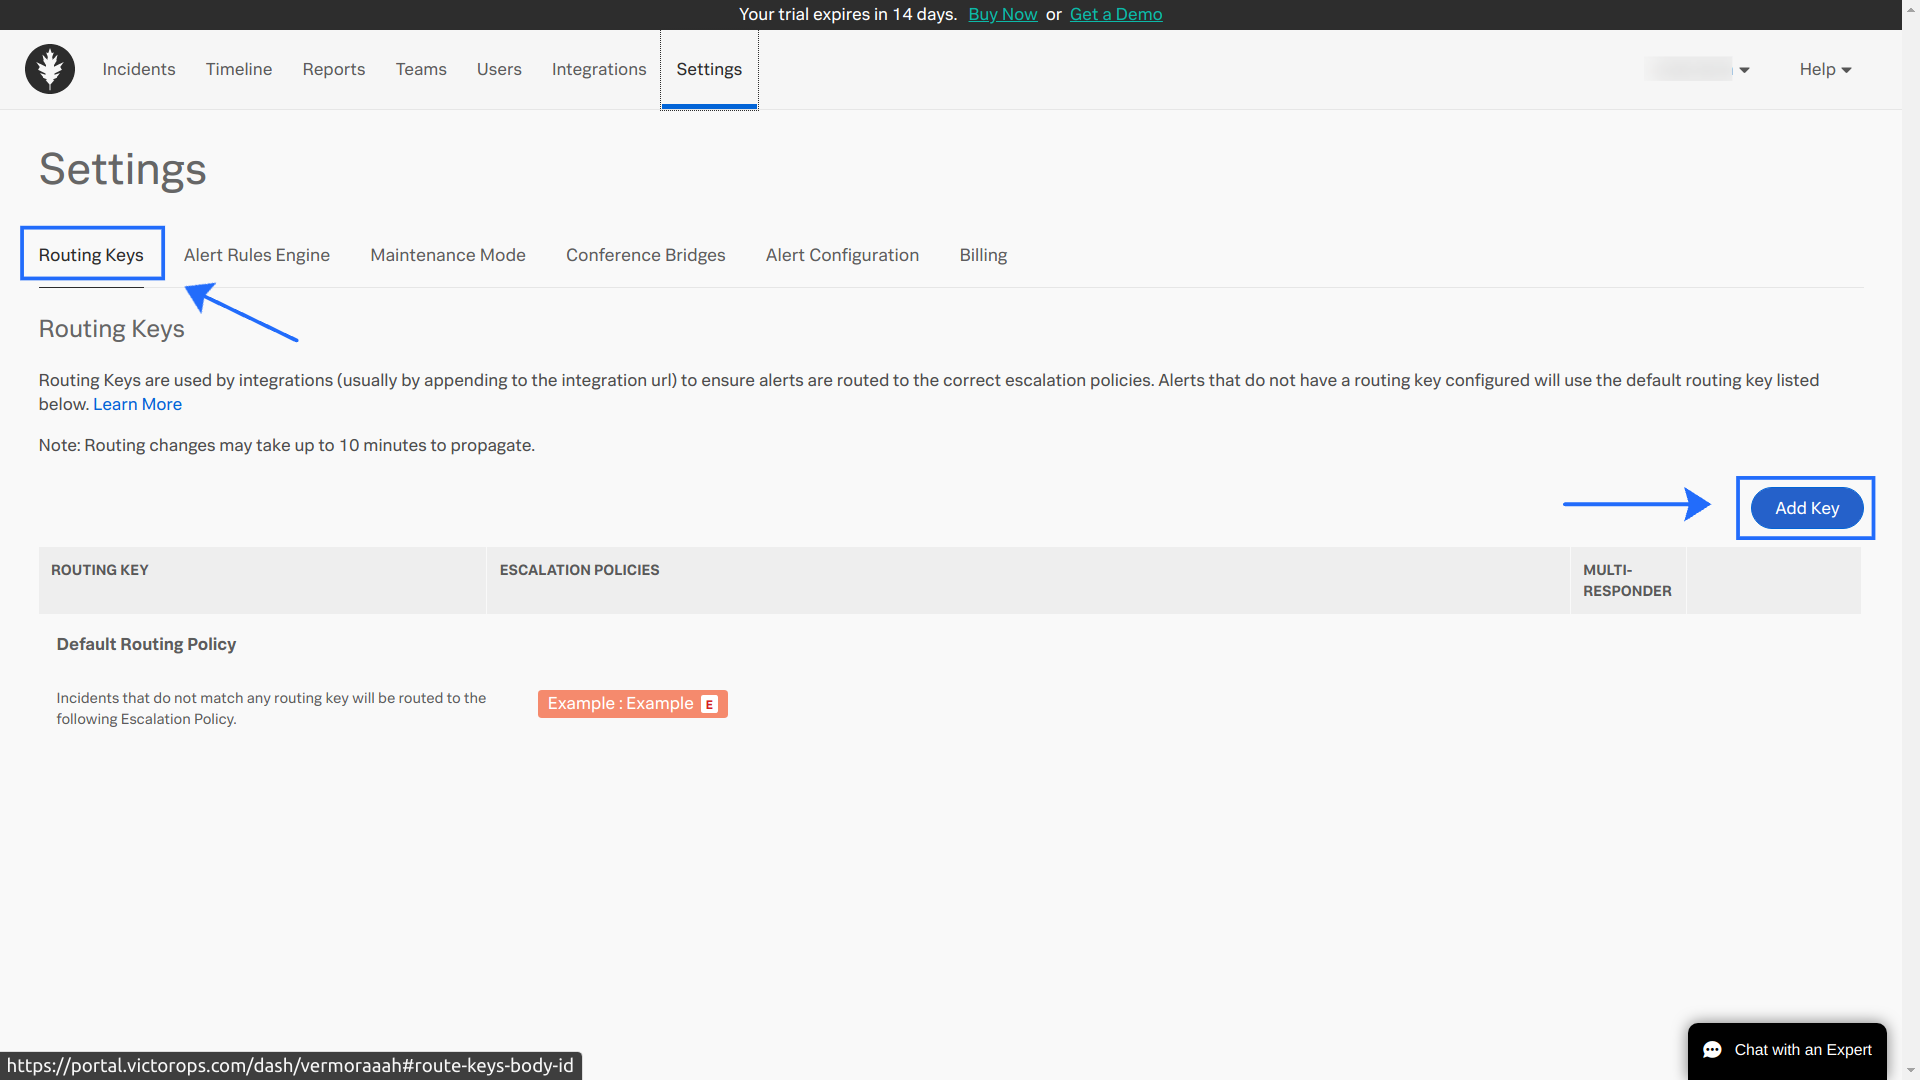
- Next, go to Settings and select Routing Keys. Add a new key or select an existing key and copy it.

Configuring the Splunk On-Call Integration in Site24x7
- Log in to your Site24x7 account.
- Click Admin > Third-Party Integration > Splunk On-Call.
- Click Add Third-Party Integration. Select Splunk On-Call from the list.
- Provide the following details in the Splunk On-Call integration form:
- Integration Name: Enter the name of your integration.
- Site24x7 Service API Endpoint: Paste the service endpoint copied while configuring the Splunk On-Call side of integration.
- Message Title: Enter the $ symbol and pick from available incident parameters to customize your message title for Site24x7 notifications. Learn more about incident parameters. You can also use Site24x7 global parameters to customize your message titles.
- Routing Key: Paste the copied Splunk On-Call Routing Key here. Learn how to generate an Integration Key.
- Select Integration Level: Use the radio button to decide whether to send alerts to the Splunk On-Call account from your chosen Monitors, monitors and monitor groups associated with applied Tags, monitors associated with the selected Monitor Groups, or All Monitors.
- Tags to Be Sent With Alerts: Select the tag keys associated with the monitor that need to be sent with the alert. When an alert is triggered, tags that match with the monitor will be included in the alert notifications. If no tags are selected, all the tags associated with the monitor will be present in the alert notifications.
- Alternate Notification Medium: If the primary third-party notification medium for sending alerts encounters an issue, an alternative notification medium will be activated to ensure that alerts are not missed.
- Trigger Alerts for Monitor Status Change: Use the check boxes to choose the monitor status changes (Down, Trouble, and Critical) for which you wish to receive alerts.
- Manually Close Incidents When My Monitor Changes to Up: Use the radio button to decide whether to close incidents manually or automatically in Splunk On-Call when the Site24x7 monitor alert changes to Up. By default, the incidents are resolved automatically in Splunk On-Call.
- Click Save and Test to save the integration and to receive a test alert. Or, just click Save to finish the integration.
NoteOnce the setup process is completed, the Splunk On-Call integration will be listed in the Third-Party Integration dashboard. You can set up multiple Splunk On-Call integrations in your Site24x7 account by using multiple Splunk On-Call integration keys from the same or different Splunk On-Call accounts.
