Install the .NET agent in Azure App Services (Linux)
Monitor your .NET applications hosted on Azure App Service running on Linux by integrating the Site24x7 APM Insight .NET agent.
You can install the agent using either of the following methods:
Using a custom deployment script
Install the .NET agent using a custom startup script that automates setup and configuration during application startup.
Step 1: Create the deployment script
- Download the apm-dotnetagent-deploy.sh script.
- In the Azure portal, navigate to your App Service.
- Go to Development Tools > Advanced Tools and click Go to open the Kudu console.
- In the Kudu console, navigate to Tools > File Manager.
- Upload or drag and drop the
apm-dotnetagent-deploy.shfile into the/homedirectory.
If your application already uses a startup command, open the apm-dotnetagent-deploy.sh script and append the existing startup command to the end of the file. This ensures that your application starts normally after the Site24x7 agent is initialized.
Step 2: Configure the license key
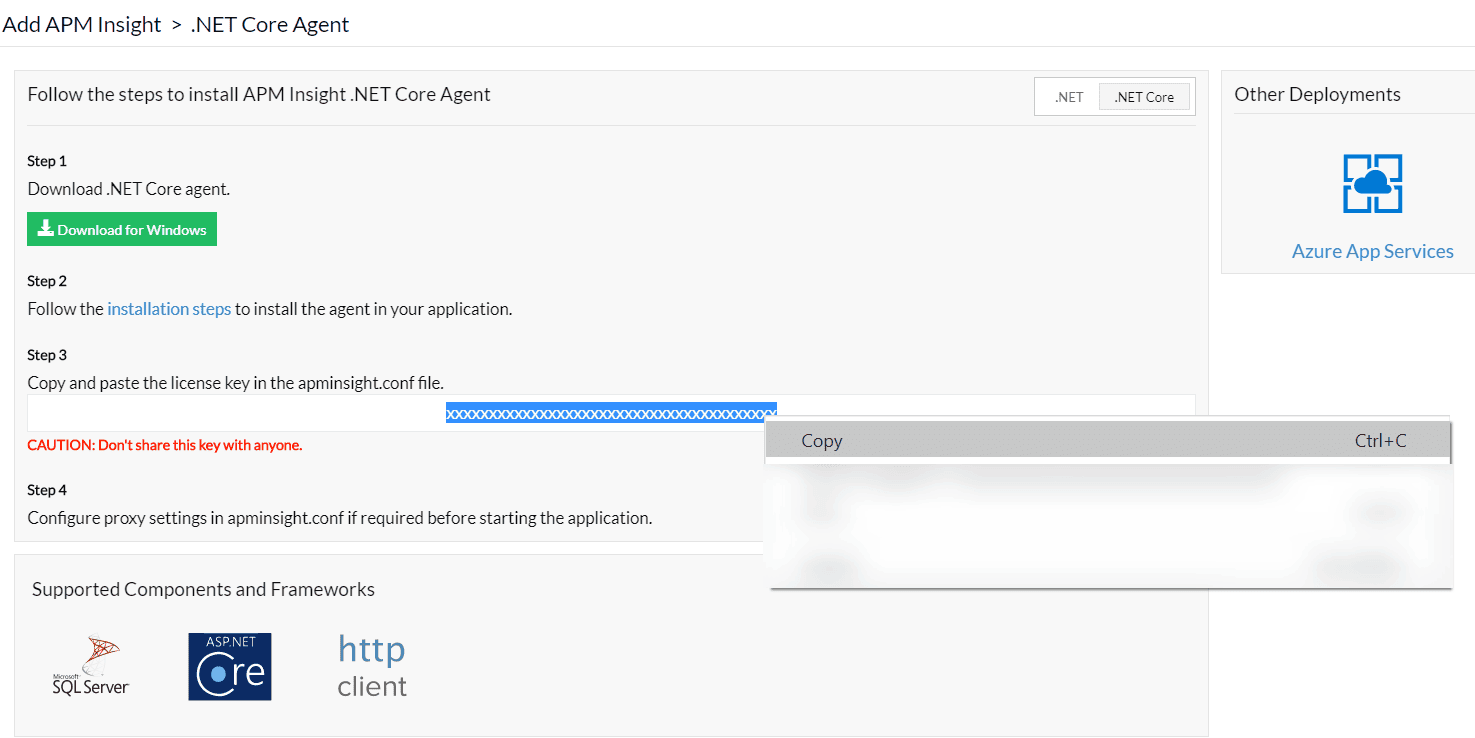
- Copy your License Key from the Site24x7 portal.
- In your Azure App Service, navigate to Settings > Environment variables.
- Add the following environment variable:
S247_LICENSE_KEY=YOUR_LICENSE_KEY
- Click Save to apply the changes.
Step 3: Configure the startup command
- In your Azure App Service, navigate to Settings > Configuration.
- Open the Stack Settings tab.
- In the Startup command field, enter:
/home/apm-dotnetagent-deploy.sh
- Click Save to apply the configuration.
Step 4: Restart the web app
After saving the startup command:
- In the Azure Portal, navigate to your web app.
- Click Restart to restart the application.
- Start performing transactions to add the APM monitor.
Go to the Site24x7 APM Insight dashboard and verify that your application appears and starts reporting performance metrics.
Using NuGet package and App Settings
Install the .NET agent by adding the NuGet package and configuring required environment variables in Azure App Service.
- Add the NuGet package Site24x7.APMInsight.Agent to your .NET project using your preferred method (e.g., Visual Studio NuGet Manager or CLI).
- Build and publish the application to your Azure App Service (Linux).
- In the Azure portal, navigate to your App Service.
- Go to Settings > Configuration > App settings.
- Click + Add and add the following environment variables:
CORECLR_ENABLE_PROFILING=1
CORECLR_PROFILER={9D363A5F-ED5F-4AAC-B456-75AFFA6AA0C8}
CORECLR_PROFILER_PATH_32=/home/site/wwwroot/site24x7/x86/libClrProfilerAgent.so
CORECLR_PROFILER_PATH_64=/home/site/wwwroot/site24x7/x64/libClrProfilerAgent.so
DOTNET_STARTUP_HOOKS=/home/site/wwwroot/site24x7/netstandard2.0/DotNetAgent.Loader.dll
DOTNETCOREAGENT_HOME="/home/site/wwwroot/site24x7"
MANAGEENGINE_COMMUNICATION_MODE=direct
S247_LICENSE_KEY=YOUR_LICENSE_KEY_HERE
SITE24X7_APP_NAME=<monitor name>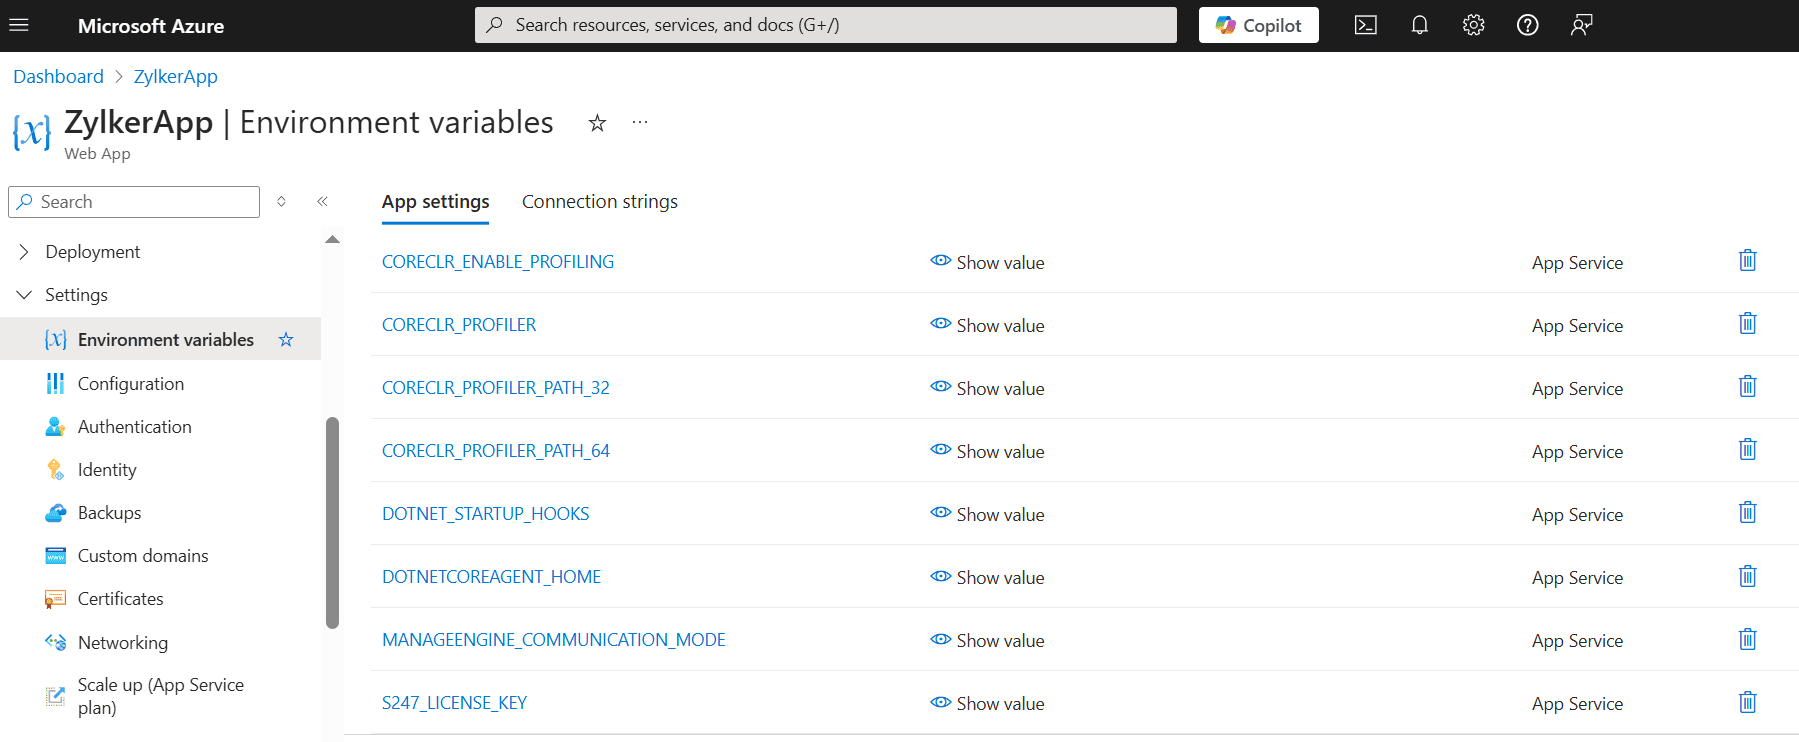 Note
NoteReplace YOUR_LICENSE_KEY_HERE with your actual license key copied from the Site24x7 portal.
- Click Save to apply the changes.
- Restart the App Service to apply the newly configured environment variables.
- Once the app is restarted, perform a few transactions to generate traffic.
Ensure that all environment variables are set exactly as listed. Incorrect paths or missing variables can prevent the agent from functioning properly.