My Account
My Account dashboard in your MSP account enables you to view and update your account settings. Based on your user privileges in the MSP account, you can instantly view and modify your account settings. Follow the steps below to easily access the accounts dashboard:
- Log in to Site24x7 MSP client.
- Click the Admin > My Account icon listed on the dock to view the My Account dashboard.
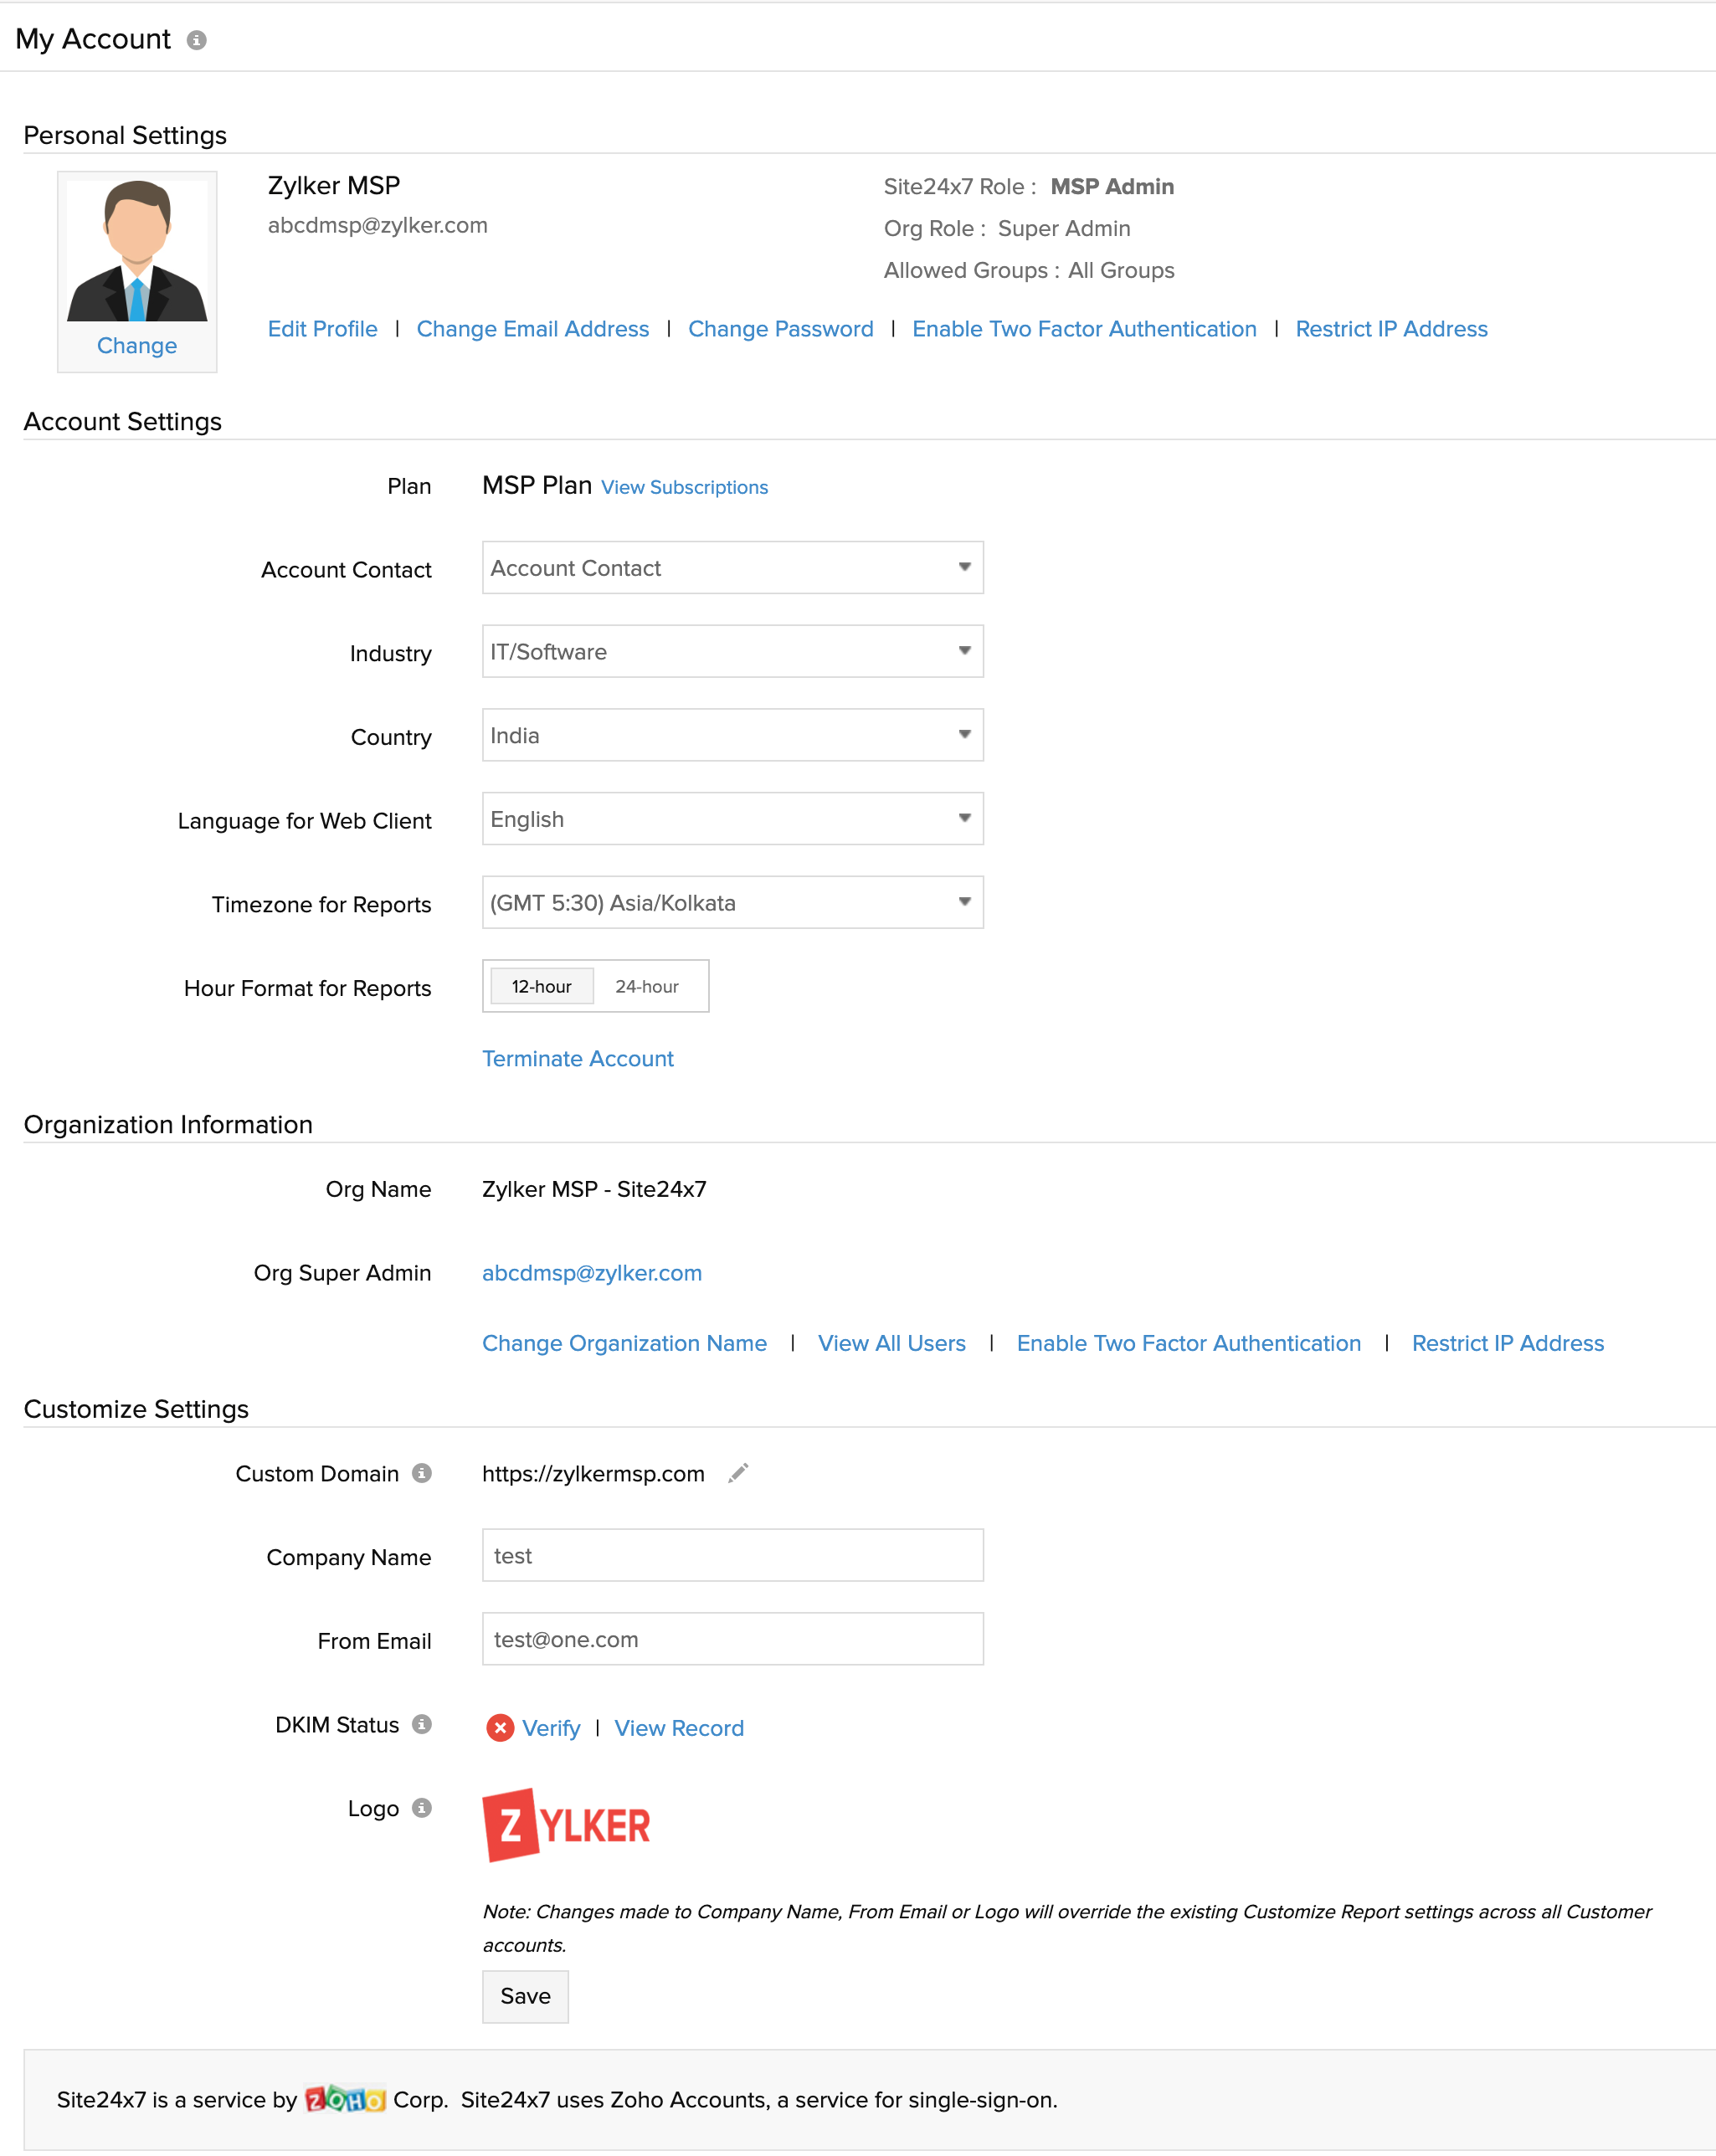
Personal Settings
Site24x7 uses Zoho Accounts, a service for single-sign-on to handle your personal account settings. You can gain insight and modify your personal information like: Site24x7 account name and email address, Site24x7 User role, Organization role, and allowed groups. You can make the following changes as part of your Personal Settings:
- Change Password: You can reset to a new password to manage your account.
Note
- What is my password?
- What should my password contain?
- If you have an Organization account, Zoho gives you the authority to set your own password criteria for your employees.
- I have forgotten my password. What do I do?
- I want to change the password for my Zoho account. How can I do that ?
- Edit Profile: You can modify your user profile. Learn more.
- Change: Update your profile picture.
- Change Email Address: Update your email preferences for primary/secondary addresses. If you forget your password, Zoho accounts will send reset instructions to your email.
Note


- Enable Two Factor Authentication: In addition to your username and password, you will have to enter a unique verification code generated by an app on your mobile device or via SMS.
Note

- Restrict IP Address: Configure and manage trusted IP addresses/ranges to restrict your account access through those IP addresses only.
NoteLearn more about Allowed IP addresses.

Web Client Notification Settings
The web client notifications can be displayed using snackbar. Snackbars are brief, non-intrusive messages that appear on the screen to confirm actions or highlight important updates and disappear automatically after a short time. You can configure these settings to control how in-app notifications are displayed.
- Enable Snackbar for Web Client Notification: Toggle to display the web client notifications through snackbar.
- Maximum Snackbar Count: Configure how many notifications can appear at a time.
- Snackbar Position: Select the on screen position where snackbars should appear from the drop-down menu.
- Show Error Messages Only: Select Yes to display only error-related notifications in the web client notifications. This change will be applied to the default notification settings also.
Applying these settings at the MSP admin level will reflect across all customer-level accounts.
Account Settings
- Log in to MSP Account.
- Click Admin > My Account > Account Settings.
- You can view and edit your account settings:
- Web Client Language: Choose your language preference for the web client. You'll be viewing all information on the web client in this language.
- Site24x7 Plan: Your current subscription plan name will be listed here. You can manage your subscriptions by clicking the link View Subscriptions.
- Industry: Choose the industry vertical to which your organization is associated.
- Country: Choose your country name from the drop down.
- Language for Emails: Choose the language of your preference for scheduled reports and alert emails. For Site24x7 and CloudSpend you can choose the language of your preference for scheduled reports and alert emails. For StatusIQ, choose the language of your preference for incident related emails and web client.
- Time Zone for Reports: Change the time zone manually according to your requirement from the drop down list. All reports are generated based on your selected time zone. Learn more.
- Hour Format for Reports: Use the toggle button to apply 12-hour format or 24-hour format for the time displayed in charts and reports.
- Terminate Account: This option can be used to terminate your Site24x7 MSP account.
 Note
NoteTermination of your Site24x7 MSP account leads to deletion of all the customer accounts and their associated monitors and reports. By terminating your account, all the data and configurations in all the three Site24x7 products (Site24x7, StatusIQ, CloudSpend) will also get deleted. However, your Zoho Organization account will not be deleted by this action.
Once you opt to terminate your account you'll be receiving notifications for the next three days, and you'll be provided with the option to revoke termination within that time.Read more to learn about the termination process.

Organization Information
To perform any actions like modifying the name of your organization, inviting new users to join your account, deleting email addresses from your account, or even deleting your organization account requires you to contact Site24x7 support team.
- Click Admin > My Account > Organization Information.
- You can view and update your organization settings. Your organization name and organization super admin email address are listed here.
- Update/Delete Organization Details: You can contact Site24x7 support to update the name of your organization.
- View All Users: To gain detailed information about all the users in your account, contact Site24x7 support.
- Enable Two Factor Authentication: Two factor authentication is an additional security process to secure your account by a combination of your password and a mobile device. This reduces the chance of your account being hacked into and protects your data with extra secure measures.
- Restrict IP Address: The Administrators can enable IP based restrictions for the organization users. This will enable additional security to the accounts and allow the login to the accounts only from the defined IP Ranges. The IP restricitons can be set at various levels and combinations. When IP restrictions are enabled for an account, and the user tries to login from a different IP Range, the user gets the following error message: "Access from this machine is denied."
- Request DPA: The Data Processing Addendum is an agreement you make with Zoho Corporation to process your personal data based on GDPR/CCPA regulations. This agreement is an addendum to our terms of service and privacy policies that govern the processing of your data.
Enable Two Factor Authentication
Restrict IP Address
Customize Settings
You can update your MSP Account's Custom Domain, Company Name, From Email address, and MSP Logo to facilitate rebranding and customization for Customer Report Settings.
- Custom Domain: Custom Domain for MSP (along with CNAME mapping) is mandatory for MSP URL-Rebranding. While setting up a white-labelled monitoring console for an MSP's end customer, the Custom Domain serves as the root domain for the white-labelled monitoring console access URL. (Once configured, the MSP's end customers can then directly login using this URL, for example "https://www.custom_domain.com/app/login/customer_login_portal".
If you're a paid user and wish to secure your domain with an SSL certificate, you can contact our support team for a free SSL certificate for your domain.
InfoRefer to this tutorial for a detailed guide on rebranding and securing your Site24x7 MSP portal for customers. This guide covers canonical name (CNAME) mapping, adding a domain verification key, and validating the sender email using DKIM authentication.
Note- Please be aware that this is a Multi-Domain Certificate, which allows multiple customer domain to be included under a single certificate through the use of Subject Alternative Names(SANs).
- Every Customer Account under the MSP will have a unique Portal Name, which can be configured during the customer account creation process. Learn more about updating your Customer Account Details.
- Domain Text Verification: Verify your domain by clicking on View Record and copy the key from the View Record section and map it to your domain name server record. You may refer to this document to learn how to add a domain verification key to your DNS TXT record. Verification is mandatory.
- Company Name: Provide the MSP Organization's Name.
- From Email : Provide the email address from which the reports will be delivered.
- DKIM Status: You can ensure secure delivery of your email reports by enabling DKIM authentication for your From Email address. You must update your DNS zone file with the relevant DKIM records provided by Site24x7 for the domain. Learn how to set up DKIM authentication for your domain.
Once the DKIM verification is done, please ensure you retain your DNS record to keep receiving emails from the customized sender address. If you do not retain the DNS record, the emails will be sent from noreply@site24x7.com.
- Logo: Add a custom logo for rebranding.
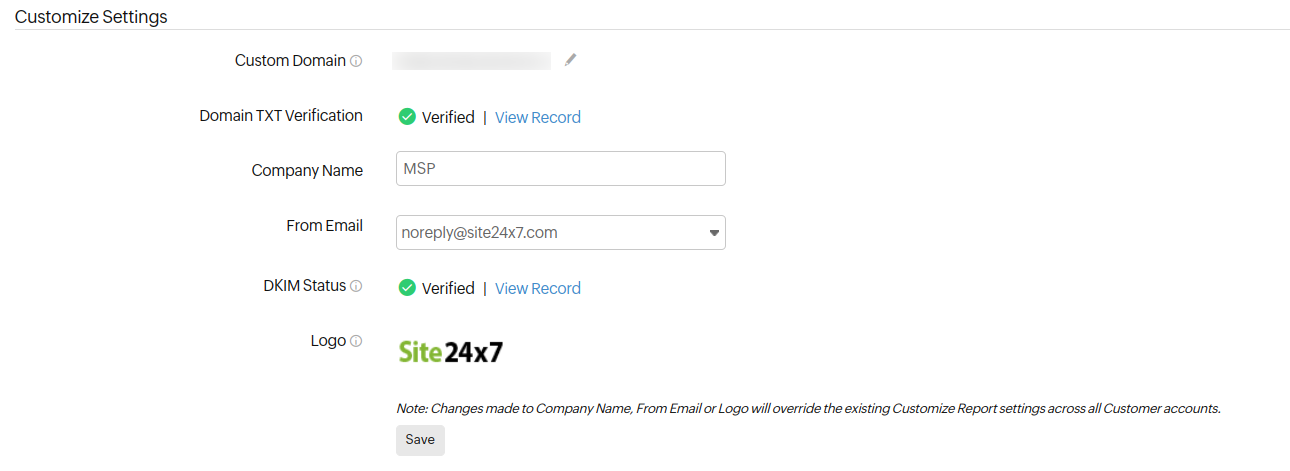
Changes made to the Company Name, From Email, or Logo will override the existing report settings across all customer accounts.