Create an Incident
Creating an incident helps you to communicate details about the health of a component or about any component outages to your users. Incidents can help to keep your customers in the loop. To create an incident:
1. Click on the Create Incident button at the top-right corner of your status page.
2. In the Create Incident page that opens, choose to apply incident templates by clicking the Apply Template button or provide details in the following fields to create a new incident:

- Incident Title: Provide a title to your incident. For example, if Zylker Website is your component. Then you can provide the title "Zylker Website is down."
- Incident Severity: Here you can choose the severity of the incident from the available options.
- Major Outage: If the service is entirely unavailable for all the end users, then the status can be set as Major Outage.
- Partial Outage: When the service is not available to only a small section of end users, then the status can be set as partial outage.
- Degraded Performance: When the service is available but there is a drop in the quality of the service available, then the status can be set as degraded performance. For instance, when there is a lag in service experiences.
- Components Affected: Add the names of the components that are affected by the incident. You can select the name of a component group, but then only the name of the components within the group will be listed in the field as affected components, i.e., the name of the component group will not be added to the list.
- Incident Status: In the incident status section, you can set the current status of an incident or you can upgrade the status of an incident. This is a mandatory field. The various options available are:
1. Acknowledged:An incident can have an acknowledged status when you accept or acknowledge that an incident has taken place.
2. Investigating:The status of an incident can be set to be Investigating, when you are working to find the reasons that might have triggered the incident.
3. Identified:The reason that caused the issue has been identified.
4. Observing:The reason was identified and the issue has been resolved, but you are waiting for the service to get back to normal and function smoothly.
5. Resolved: The incident is solved and the service is available.
- Status Update: You can update details about the status of the incident in this field. For instance if the status of the incident is set as Acknowledged you can communicate more details about the stage at which your investigation is in or what you are planning to do next.
3. You can also choose to notify your users via email or SMS.
4. Click Save.
Edit Incident
If you click on Edit Incident, then you will be redirected to a new page titled Update Incident. In the Update Incident page, you can make changes to the severity of the incident, and update the severity of the incident accordingly by clicking Save.
There are of two types of incidents: Real-time and scheduled incidents/scheduled maintenance.
1. Real-time incidents
Real-time incidents are incidents created by an unexpected outage. For instance, when one of your components is experiencing downtime, you can create a real-time incident in the status page along with a summary about the incident. A real-time incident is considered active if the incident is still being worked on and resolved if it has been solved already.
1.1 Post Update
If you want to update the status of any incident or if you need to communicate more details about the status of a particular incident, you can use the Post Update option.
1. In your Status Page module, click on Post Update next to the name of the active incident.
2. You will be redirected to a new page titled Incident Details. In this page under the New Update section, you can choose to apply existing incident templates by clicking the Apply Template button or update the details in the following fields:
- Incident Status: Can set the status accordingly by choosing the appropriate status from the drop-down list.
- Status Update: Provide details that you would like your customers to know.
- Post as a Private Note: A private note can be used when you want to exclusively communicate within your team internally. By enabling the toggle button to YES, you can ensure that you are communicating within your team only and not with end users.
3. By checking the boxes at the end of the page, you can also choose to notify your subscribers by email or SMS if you'd like.
4. Delivery status for incident notification emails: You can check the delivery status of incident emails and resend another notification if necessary. Follow the steps given below:
- Navigate to the Incidents tab and click on the incident (a real time or a historical incident) whose email delivery status you want to check.
- Click View Incident Details.
- The Update History section will show the status updates posted for every incident. Hover on the email icon next to it to see the number of emails sent for the corresponding status update. Click the link Email Delivery Failure Details for information on the email delivery status.

- After checking the delivery status, you will see a screen where you can click on the hamburger icon to remove a subscriber, if necessary.
5. Click Post Update to update your changes.
On the Incident Details page you can see details about the incident. Under the Update History section you can view the number of emails and SMS messages that were sent by clicking on the respective icons. Moreover, you have an option to edit the status update by clicking on the Edit Update icon in the Update History section.
In the top-right section of the Incident Details page, you have options to View Incidents to view this incident in a separate tab or to share details of this particular incident) and Edit Incidents (to edit incident details like title and severity).
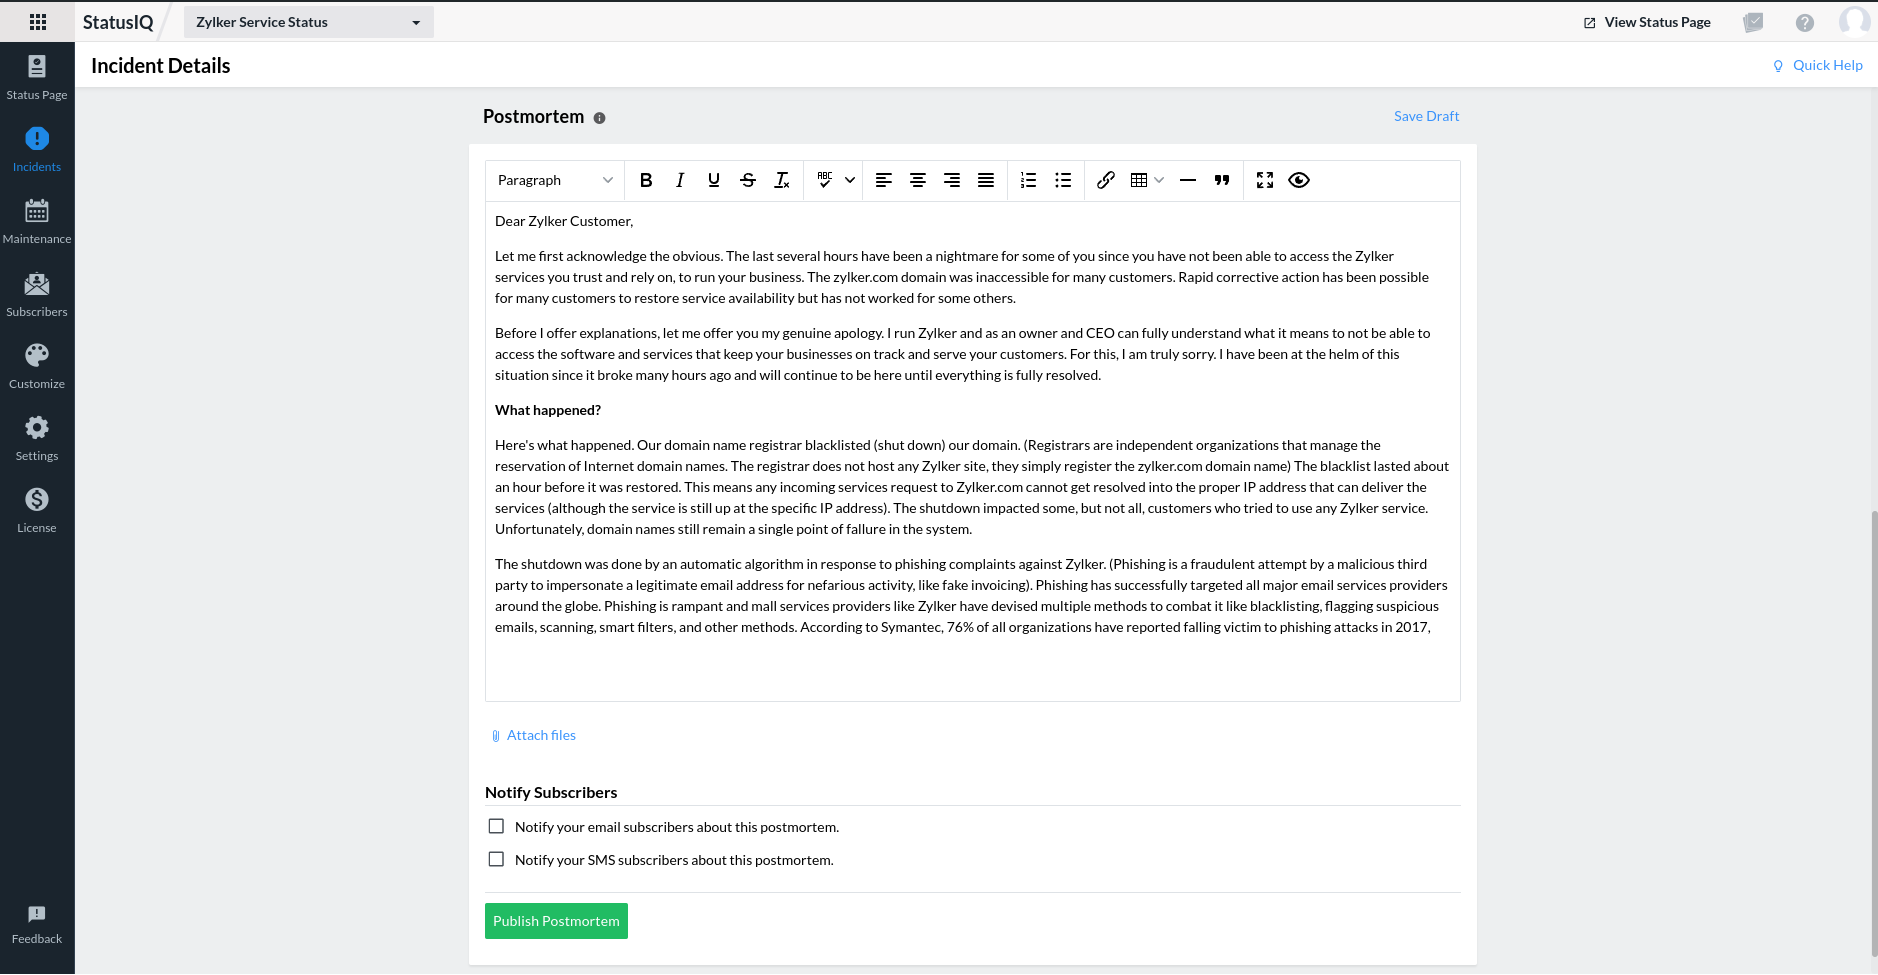
1.2 Postmortem
During an incident, you will update users periodically when you uncover details about the issue. However, customers, especially those using SaaS services, need a detailed account of the exact root cause, the fix deployed to mitigate the incident, and the measures taken to avoid similar incidents in the future. This can be conveyed using the Postmortem feature.
To write a postmortem, navigate to the Incidents tab. You'll find the past incidents listed here. Click on the hamburger icon next to the name of the incident, and choose Write Postmortem.
Additionally, you can add files to your postmortem for a detailed explanation. Supported file formats: .pdf, .docx, .txt, .pptx, .md (markdown), .html, .csv, .png, .jpeg, .gif, .zip, .rar
Spell check integration
The Postmortem editor is powered by Zia—the AI assistant from Zoho. The spell check tool can help you create content that is professional while you document the incident events and the steps taken to fix it. You can also add commonly used industry terms to your custom dictionary so you can avoid inconsistent spelling and errors.

The text editor is enabled and set to English by default. You can click on the spell check icon to enable it to switch to any of the other seven built-in languages supported.
Note: The spell check feature is available for users with a Green plan subscription.
You can choose to notify your subscribers about the Postmortem via email and SMS. Click Publish to make it available on your public status page, or choose Save Draft to publish it later with more details.
1.3 Notifying subscribers
While creating an incident, you can opt to notify your email or SMS subscribers by enabling the option provided at the end of the Create Incident section.
2. Historic Incidents
The incidents that were resolved will be listed as Historic Incidents. Historic incidents can be used as reference points while resolving future incidents.

You can add details of a past incident by clicking the Add Historic Incident button in the Incident History section. After filling in the required fields, click the Save button, and the incident details will be added to the Incident History section. You can also opt to apply incident templates by clicking the Apply Template button. You can click on the icon in the Incident History section to make any changes to historic incident already added under Widget Controls.
3. Scheduled Incidents
Instances of planned maintenance that users are informed about ahead of time are called scheduled incidents. Scheduled incidents are usually referred to as Scheduled Maintenance in StatusIQ.